Emailing Attendees
This chapter covers how to send an email to attendees of your event.
INFO
Emails cannot be sent or scheduled more than 10 days after your event finishes.
Drafting Emails
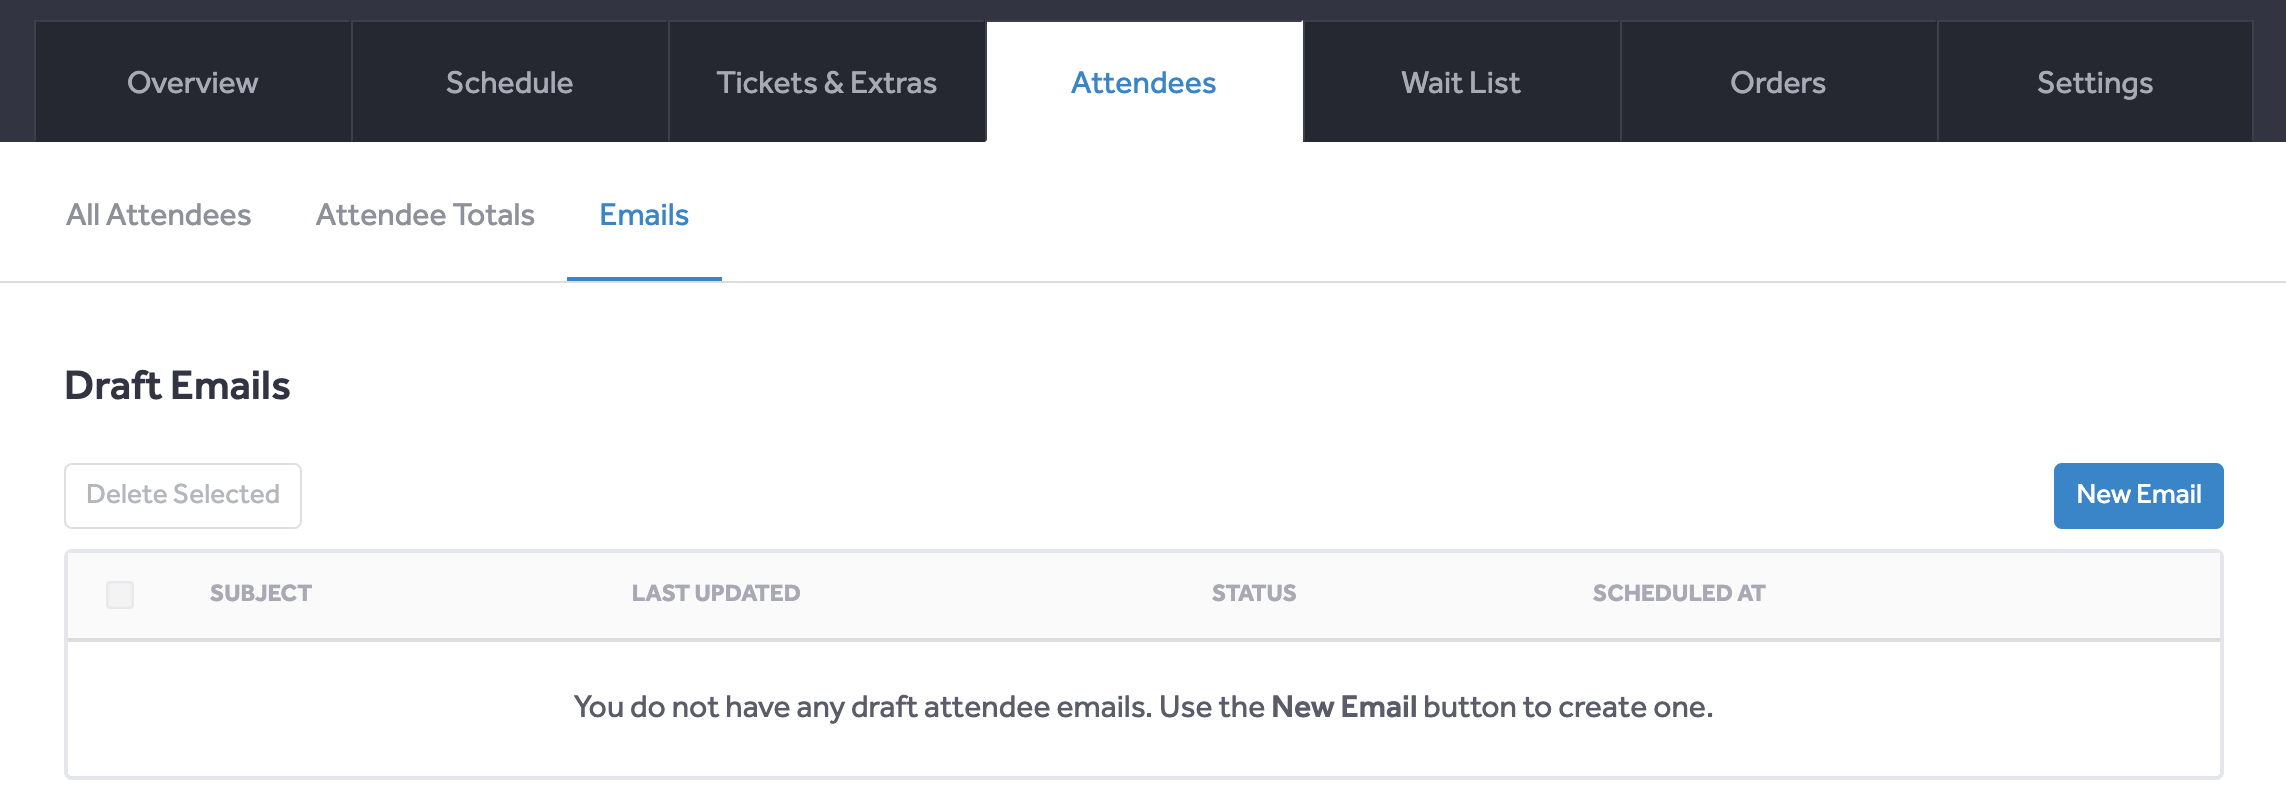
To draft a new email to attendees at your event, go to the event page then choose the Attendees tab followed by the Emails sub-tab.

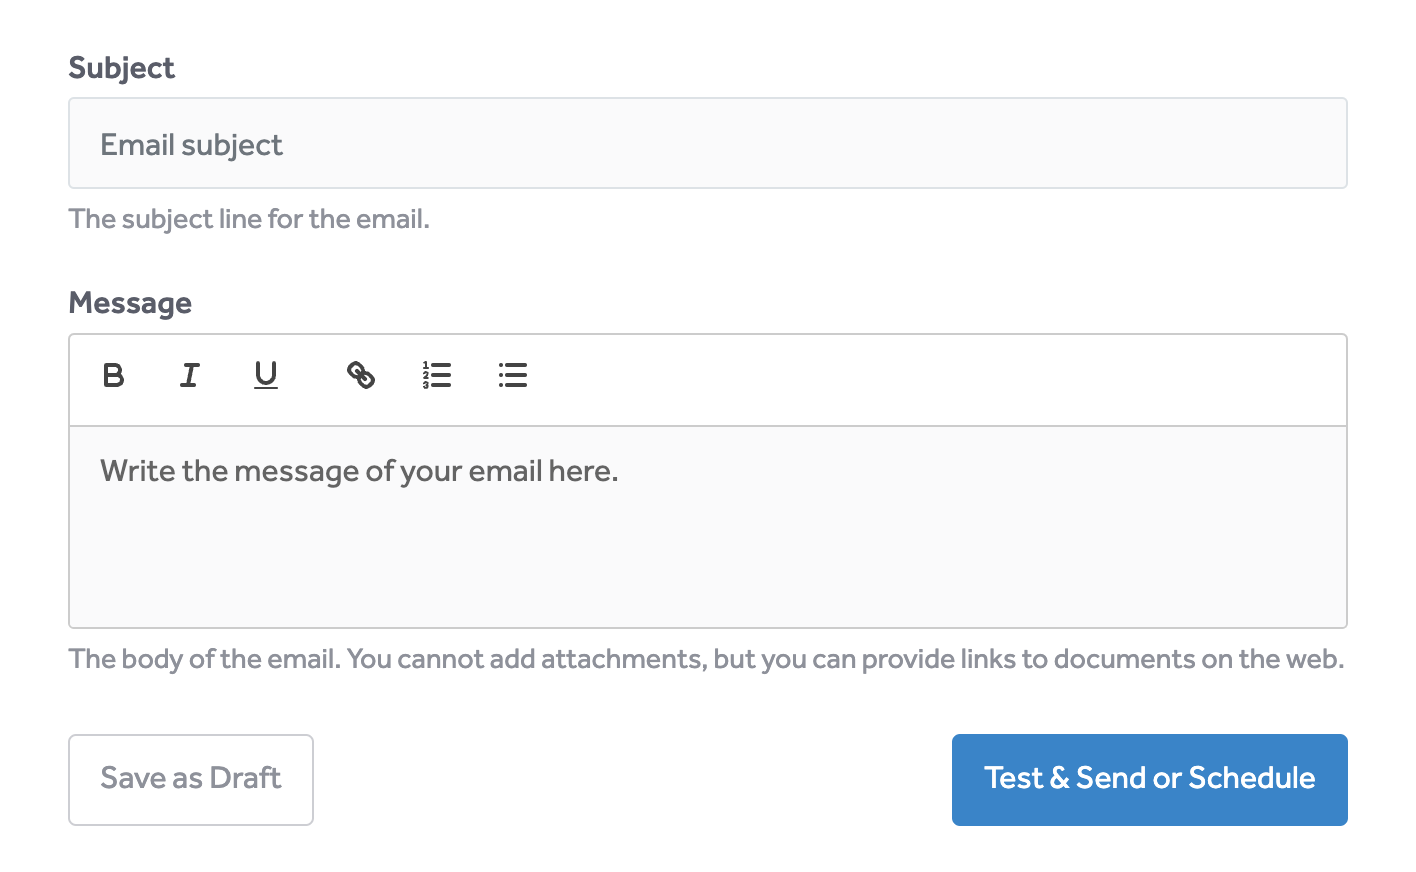
Use the blue New Email button to create a new email. You'll be taken to a form where you can draft the subject and content of your email:

Saving Drafts
If you want to save a draft to return to later, use the Save as Draft button. You'll be returned to the list of draft emails, where your email will be shown:

To start editing your email again, click the subject line or use the arrow to the right of the row.
Deleting Drafts
If you need to delete a draft, select it using the checkbox to the left of the row. Then use the Delete Selected button. You'll be asked to confirm the deletion.
Testing & Sending
Once you're happy with your draft email, use the Test & Send or Schedule button. This will take you to a new page where you can test the email, then either send it immediately or schedule it for sending.
Preview Email
The Preview Email button will load the email in a new tab in your browser. This allows you to see what the email will look like when it is sent.
Send Test Email
The Send Test Email button will send a copy of the email to the address you use to sign in to DanceCloud. This allows you to preview the email in your mail software.
Please note test emails may take a number of minutes to arrive in your inbox.
Sending Immediately
If you want to send the email to attendees at your event, use the blue Send Now button. You will be prompted to confirm before the email is sent.
Sending immediately will queue the email for delivery, and then send an email individually to each attendee. We stagger the sending, so the process can take 10-15 minutes to complete.
INFO
Emails are not sent to any attendees that are marked as cancelled.
Send Later
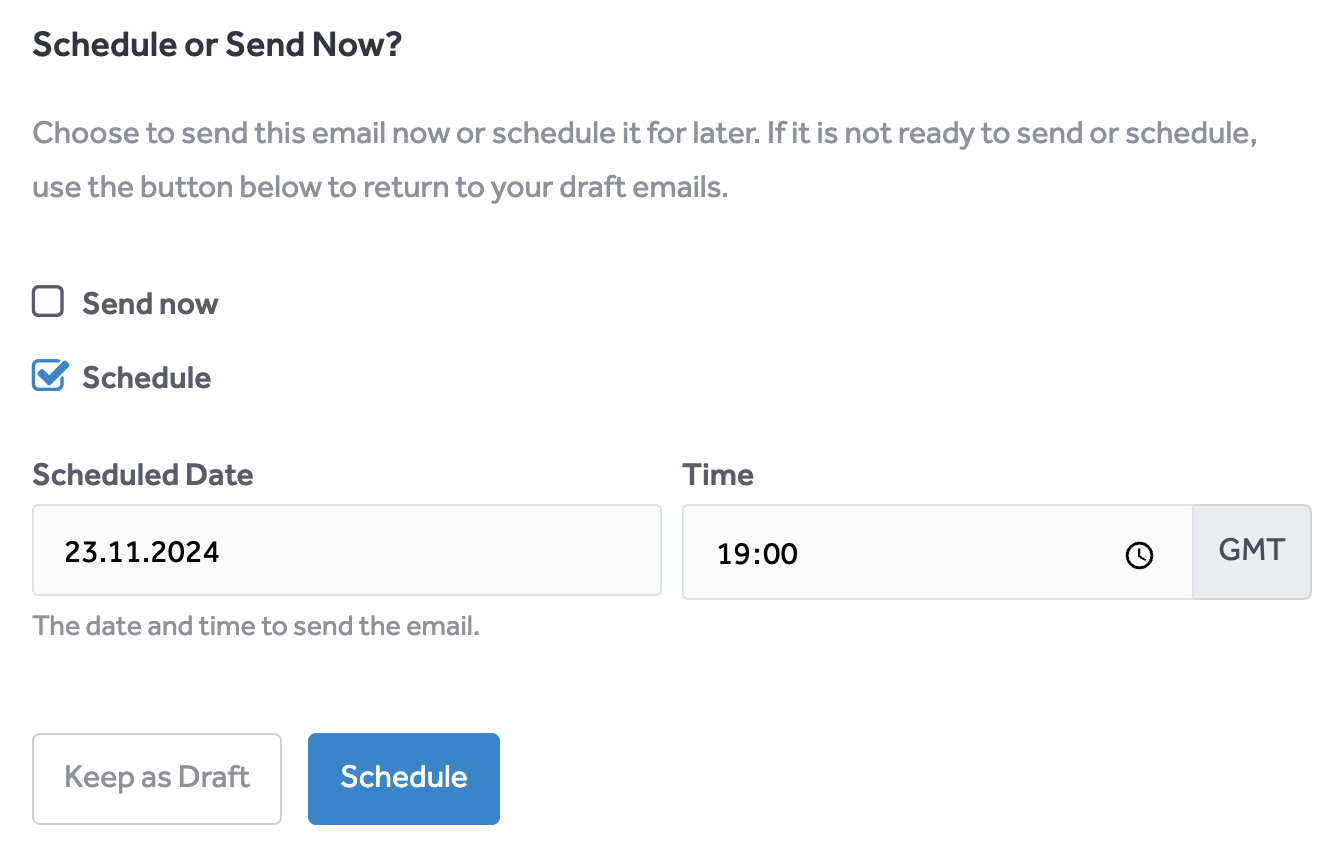
If you want to schedule the email to send later, change the selection from Send now to Schedule:

Enter a date and time, which cannot be more than 10 days after your event finishes. Then use the Schedule button.
INFO
A scheduled email will be sent to all attendees at your event at the time it is sent. Emails are not sent to attendees who are marked as cancelled.
Just like when sending the email immediately, we stagger the sending of the email to each recipient. The process can therefore take 10-15 minutes to complete.
You will be taken back to the emails page, where you will see your scheduled email:

If you want to stop the email from being sent, or need to make changes to it, use the Unschedule button. You will be prompted to confirm before it is returned to a draft email.
Sent Emails
When an email is in the process of being sent, or has been sent, it will be shown in the Sent Emails list. You cannot stop an email from being sent once it is in this list.
After an email has been sent, you can choose to delete it. Select the row you wish to delete using the checkbox on the left, then use the Delete Selected button.