Optional Extras
In this chapter, we'll cover creating optional extras at your events. These allow you to sell items such as merchandise or other products.
Creating Extras
Use the blue "New Extra" button to start creating an item.
Item Name & Description
Enter the item's name, which is the name that is displayed to customers. You can also add an optional description of the item.
Unit Label
Enter the word to use when describing a number of these items. The word should be in the singular.
For example, if you were selling mugs at the event, you would enter "mug". This will then mean a singular item is described as 1 mug and two items as 2 mugs.
This is an optional field. If you do not enter anything, item and items will be used.
Display Position
You can also specify the position of the item in the list shown to customers by entering a number for the display position. Items are sorted in ascending order, so the lowest number will be shown first.
INFO
If multiple items have the same position, they will be sorted alphabetically by their name.
Sales Date
If sales for this item should close before the event is held, select the "End sales before the event?" checkbox. You can then enter a date and time to close sales of this item.
Options
Sometimes an item you are selling will have options. For example, a t-shirt might have sizes, or a mug might be available in multiple colours. If this is the case, select the "Has Options" checkbox. This will allow you to create the options on a subsequent step.
TIP
Sometimes your item might have multiple combinations of options. For example, a t-shirt might be available in red and blue, but also have sizes. In this scenario, you would create an item per colour and then use the options for the sizes. So you would create a blue t-shirt with sizes, and a red t-shirt with sizes.
No Options
If your item does not have options, you will next be asked to enter the price of the item.
You can also choose whether to limit availability of the item. For example, if you only had 50 mugs to sell, you would need to enter that as the limit. Select the "Limited Availability?" checkbox to enter a limit.
Limiting Options
If you have chosen to use options for your item, you will next be asked how the item is limited. You have three choices:
- Unlimited: set no limit for this item, across all options. For example, if you are selling t-shirts but will not order them until you know how many have been purchased. You would select unlimited to ensure there is no limit on how many customers can choose to purchase a t-shirt.
- Per Option: set a limit for each option on this item. For example, if you were selling t-shirts and had 20 small, 30 medium and 25 large to sell, you would need to enter a limit per-size.
- Across All Options: set a limit that is the total that can be sold across all options. This will allow any number of each option to be sold. But it would prevent the total sold across all options from exceeding the limit you set.
Option Details
On the next step you will need to create options. For each option you will need to enter a descriptor - e.g. small, medium or large for sizes - and a price.
If you selected to limit availability per-option, you will also need to enter the limit for this particular option.
Use the "Continue" button to add the option. Then you will be shown a list of options you have added so far. To add another option, use the "Add Another Option" link.
Once you have finished adding all the options you need, use the "Create" button to finish creating your item.
Editing Extras
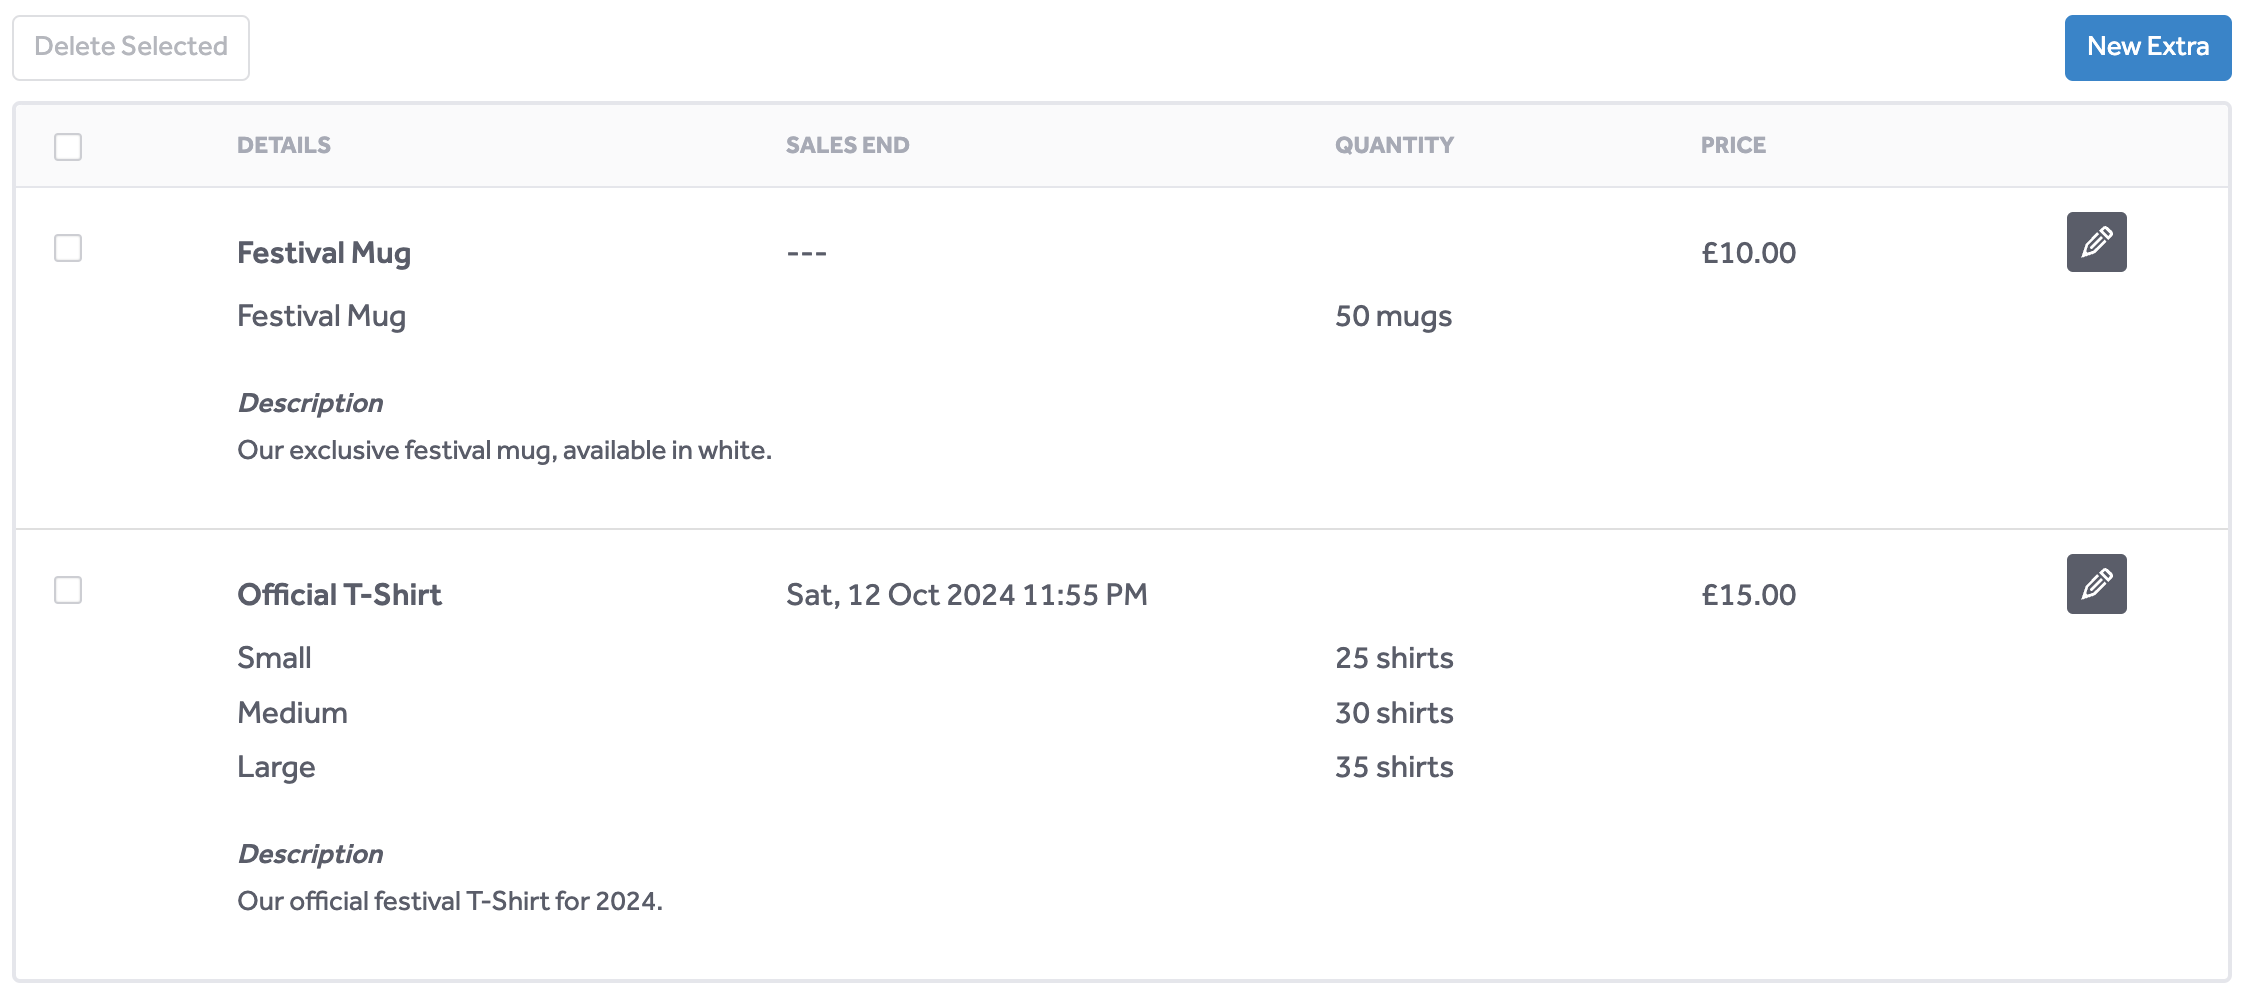
The items you have created will be listed, as shown below.

To edit an item, use the edit icon on the right of the row. This will allow you to change any of the details you entered when creating the item.
Hiding Items
You can hide items from sale. Use the edit button on the row for the item you want to hide. Select "Product Details", then select the "Not Available to Purchase" checkbox.
This will immediately hide the item in the customer checkout, which means customers will not be able to purchase it.
When an item is hidden, it will be shown in the list with a red "Not on sale" label.
Deleting Extras
To delete items, select the item you want to delete using the checkbox on the left hand side of the row. Then use the " Delete Selected" button. You'll be prompted to confirm the deletion.
WARNING
If an item has been sold, you will not be able to delete it. Instead, hide the item to prevent customers from purchasing it.
What's Next?
Good news, you've almost finished creating your event! On the final step, we'll preview and publish your event.