Schedule
In this chapter we'll cover creating your event schedule - the activities that dancers can participate in at your event.
What is the Schedule?
In DanceCloud, every event has a schedule of activities. These are the different activities that a dancer attending your event can participate in.
Some events might just have one activity - for example, if you were organising a Tea Dance it is likely to consist of a single social dance.
However, other events might have multiple activities. A weekly class might comprise of two lessons - a beginners and an intermediates lesson. While a weekend event might comprise of a workshop during the day and a social dance in the evening.
TIP
When creating an event, it is important that you accurately create your schedule before setting up ticket types. This is because ticket types determine which activities on the schedule a customer is admitted to if they purchase a ticket of that type.
Why is a Schedule Used?
DanceCloud needs to understand the activities at your event, because wait-list and capacity settings typically vary across activities.
For example, let's imagine an event with a lesson followed by a social dance.
Typically, we want a good balance of leads and follows in the lesson - let's say 5:4 - with a restricted capacity such as 30. However, for the social dance we will admit a less restrictive ratio of leads and follows, say 3:2, and the capacity is likely to be higher - say 75.
By creating our schedule with these settings, we can then add ticket types that determine what activities a customer is admitted to. At this example event, we could create a Whole Event Pass, a Lesson-Only Pass and a Social Pass.
By understanding which activities the ticket admits a customer to, DanceCloud can manage the ratio of leads/follows and the capacity at both the lesson and the social dance - despite them having different settings.
Creating Activities
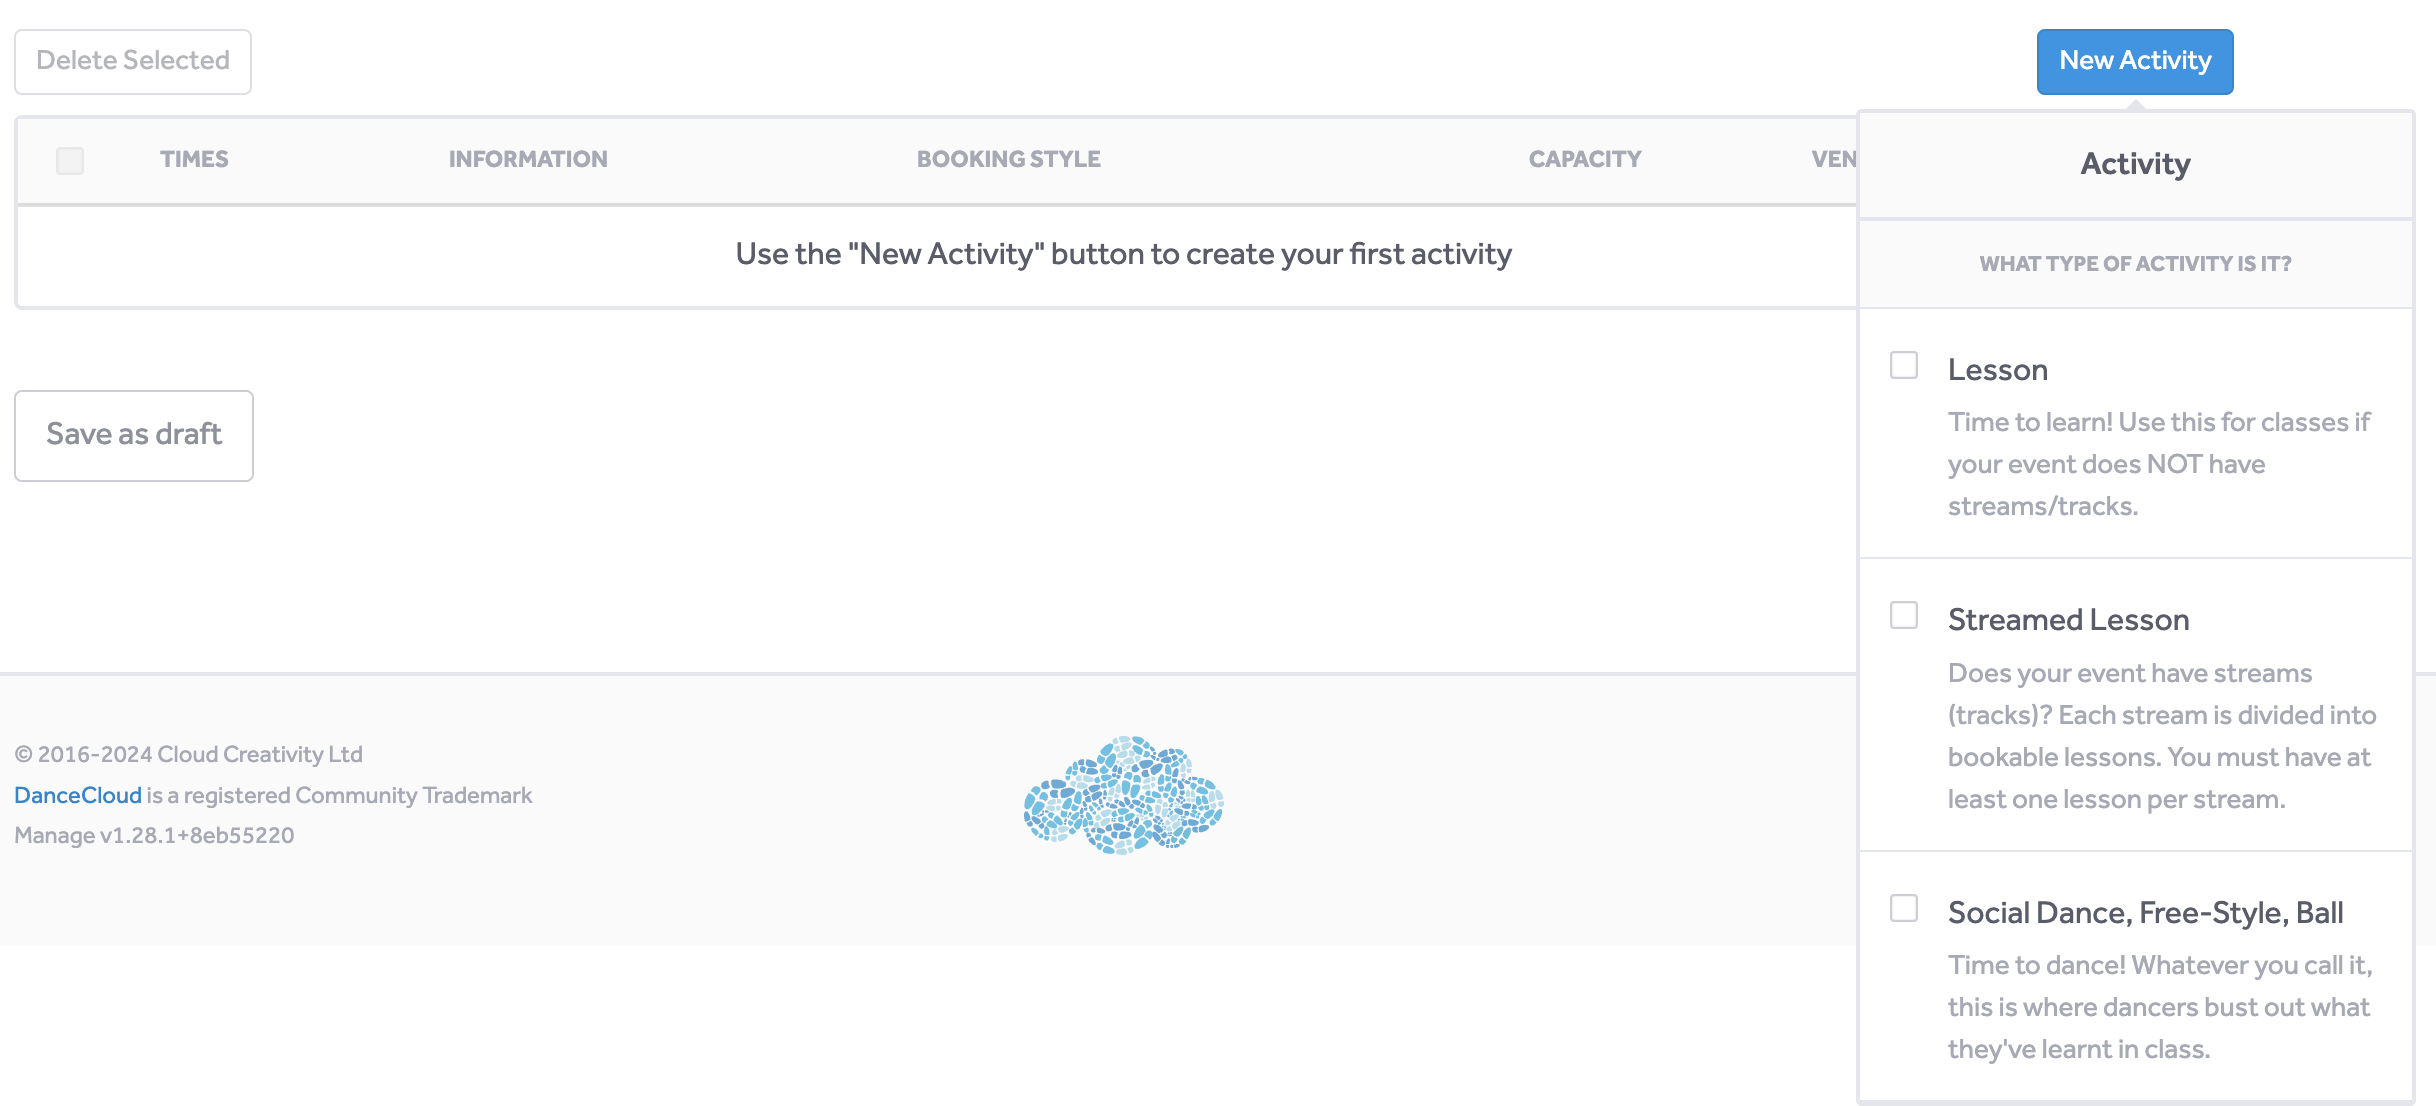
On the Schedule step when creating your event, use the New Activity button to create an activity:

Activity Type
Choose one of the three activity types:
- Lesson - use this for classes at your event when your event does not have streams.
- Streamed Lesson - use this for classes at an event that does have streams. Each lesson must be assigned to a stream.
- Social Dance, Free-Style, Ball - whatever you call it, this is when dancers get to strut their stuff on the dance floor!
Stream
If you selected Stream Lesson the next step will ask you to select or create a stream.
To create a stream, type the title of the stream in the "Enter a new stream here" box, then add a description. This stream information will be displayed to customers on the event page.
Dance Style
Select a dance style for your activity. To search, type in the "Type to search dance styles" box. Select a dance style by clicking it - then use the Continue button to proceed.
TIP
We've tried to capture all dance styles for you to select. If you cannot find the one you want to use, please contact us so we can update the list.
Start and Finish
Enter the date and times that this activity starts and finishes. Activities cannot span multiple days, as your schedule is presented to the customer as a list of activities per day.
Venue
Select an existing venue where the activity is to be held, or create a new one.
Use the "Type to search for or create a venue" box to either find a venue you've previously created, or to create a new one with the name you enter.
If you do not yet know where the activity will be held, select the "No Venue" option. You can always add the venue later.
Title
On the final step, you can enter a title for the activity. E.g. Beginners Lesson or Tea Dance. This is the name of the activity that is displayed to customers.
This step also contains ticketing settings.
Capacity
By default, the "Limit capacity at this activity" option is selected. This means you need to enter the maximum number of dancers you can admit to this activity.
Un-ticking the "Limit capacity" option means your activity will have unlimited capacity.
If you are creating a social dance, you will also see a Reserved Capacity field. This determines the number of places at the social dance that should be reserved for customers who are also attending lessons at your event.
TIP
For example, say your event has a lesson with a capacity of 40, and a social dance with a capacity of 100. You will want to reserve 40 places at the social dance for customers who are attending the lesson.
Reserving 40 places at the social dance prevents DanceCloud from selling too many tickets that only admit customers to the social dance.
Booking Style
This determines how customers must sign-up for the event:
- Leads/Follows - ensures customers book as a lead or a follow.
- Partnered Only - means customers can only purchase partnered tickets, i.e. a lead and follow booking at once. This is useful where dancers will not rotate in a class and will remain with the partner they signed up with.
- Lead/Follow/Switch - ensures customers book as a lead or follow, but also gives them the option to sign up as a switch role. This is useful where you a running a class where some dancers will both lead and follow (i.e. switch) during the class. It is also useful for social dances where you want to give customers the option of specifying that they dance both roles.
- Unspecified/Solo - customers do not need to specify a role when signing up. Use this for lessons where customers dance solo - e.g. a Solo Jazz class - or where you do not want to sell tickets on the basis of role - e.g. social dances where you are not concerned about ratios between roles.
TIP
When selecting the partnered only booking style, the capacity still refers to the total number of dancers who can be admitted. For example, a capacity of 30 would admit 15 couples.
Target Ratio
If you have selected Lead/Follow or Lead/Follow/Switch you can enter a target ratio and an activation point.
Target ratio determines the balance between leads and follows at the activity. For example, you could set a lesson to 5:4 to ensure a good ratio of leads and follows. However, a social dance you may want to be less restrictive - for example, 3:2 or even 2:1.
When entering a ratio, the higher number always applies to the role that has highest demand. So if we set it to 5:4, the 5 will apply to whichever role has a higher number of bookings and the 4 to the lower. See the Target Ratios chapter for a more detailed explanation and more examples.
INFO
If you do not want DanceCloud to automatically balance sales for the activity, leave the target ratio blank.
Activation Point
The activation point determines how many sales should be allowed before DanceCloud starts to consider the ratio when processing bookings. Set this to a proportion of your capacity that you are willing to sell before the ratio is considered. For example, a lesson with a capacity of 30 could have an activation point of 7. For a more detailed explanation, see the Activation Points chapter.
Copying Activities
Once an activity is created, you can choose to copy it to other dates and times at your event. This is useful when creating repetitive activities.
For example, imagine you are creating a 4-week course. You would create the first lesson in your schedule, then copy it to the additional three dates.
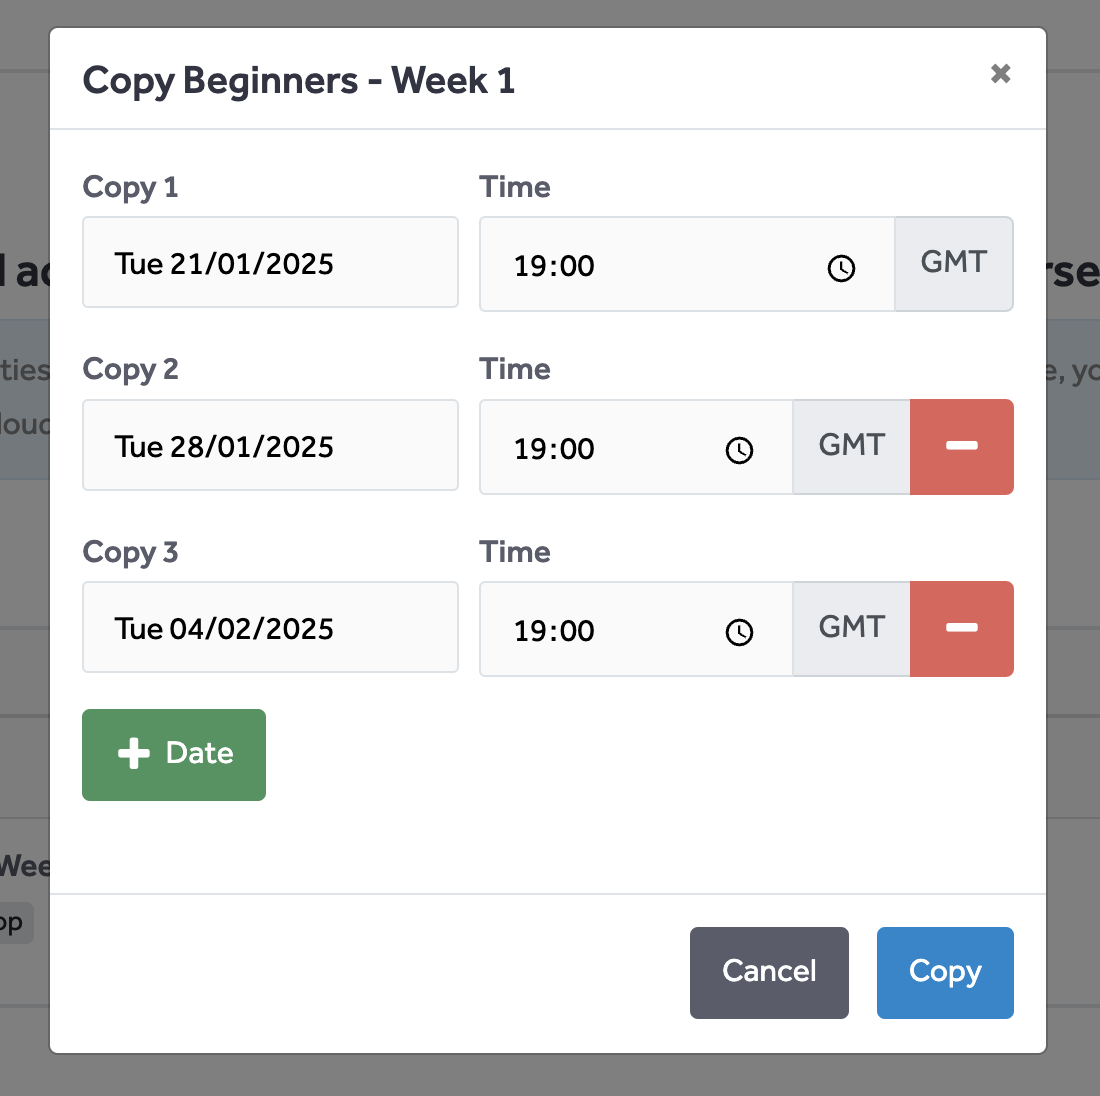
Use the copy button on the row of the activity you want to copy. It is found on the right hand side of the row, next to the Edit button.
This opens a modal that allows you to choose one or more dates to copy the activity to:

WARNING
You cannot change the type of activity that you copy. So, if you copy a social dance the copies will also be social dances.
Otherwise, you can edit any other settings of the copies once they are created.
Editing Activities
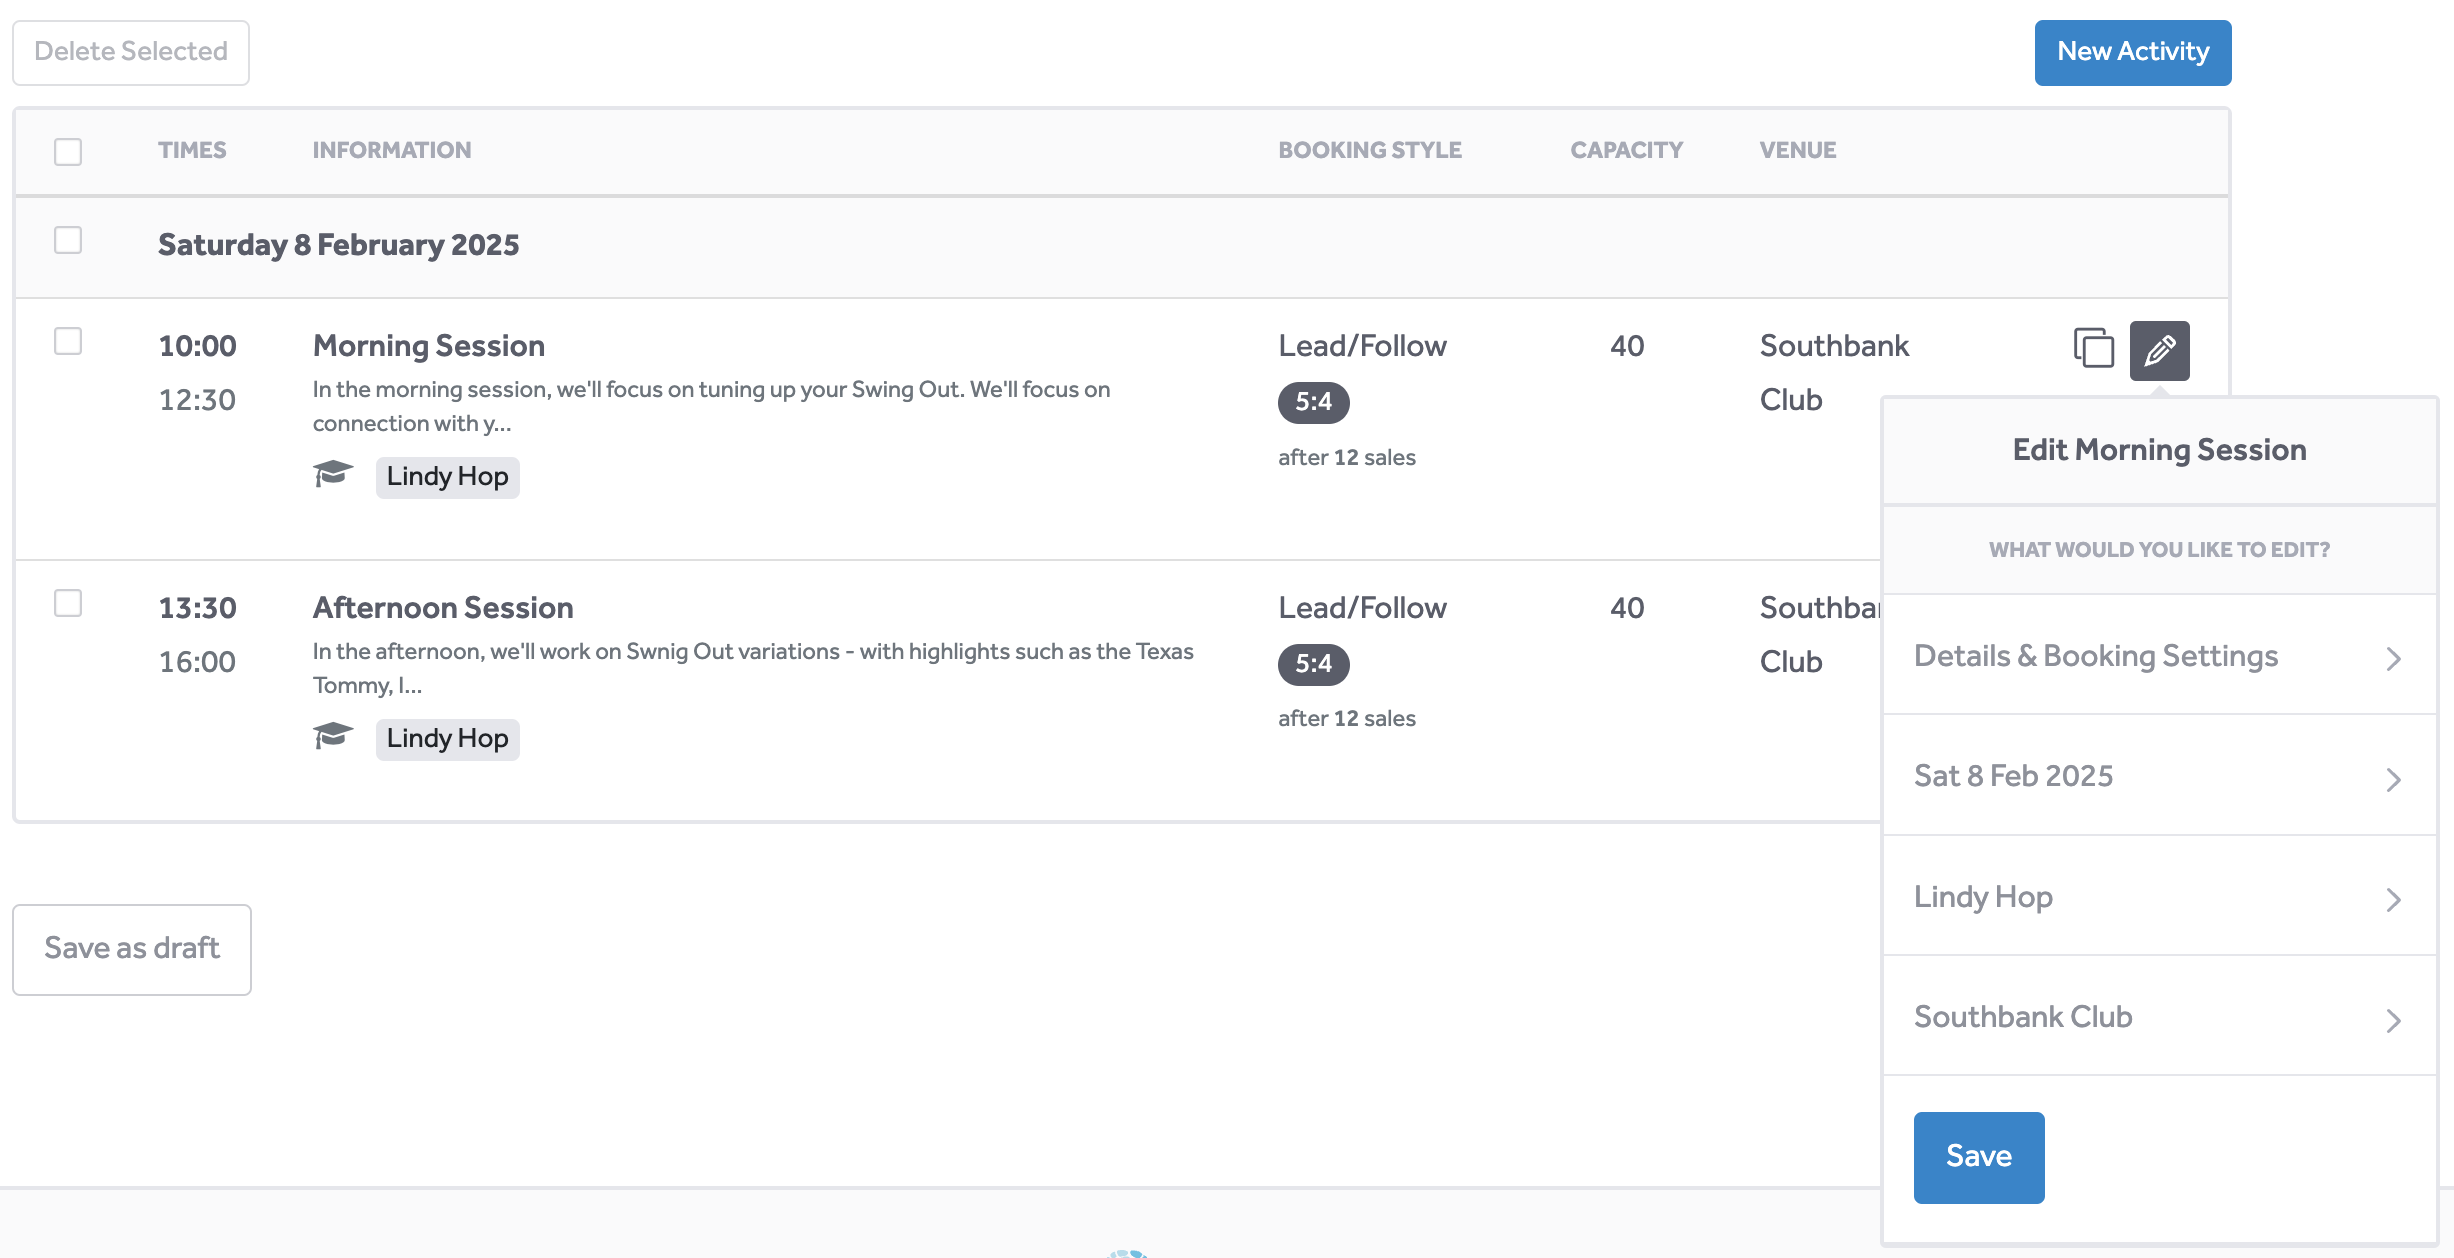
If you need to change any settings on an activity after creating it, use the edit icon on the right of the row of the activity you want to edit:

Deleting Activities
To delete an activity or activities, select the rows you want to delete by clicking the checkbox on the left of the row. Once selected, use the "Delete Selected" button to delete the activities. You will be prompted to confirm you want to delete the selected activities.
DANGER
Deleting an activity cannot be reversed.
If you've already sold tickets that admit to the activity, the activity will also be removed from the tickets that have been sold.
Streams
Creating Streams
Streams, aka tracks, are created when you create an activity - as described above.
Editing Streams
If you added any stream lessons to your schedule, an Edit Streams button will appear next to the New Activity button:

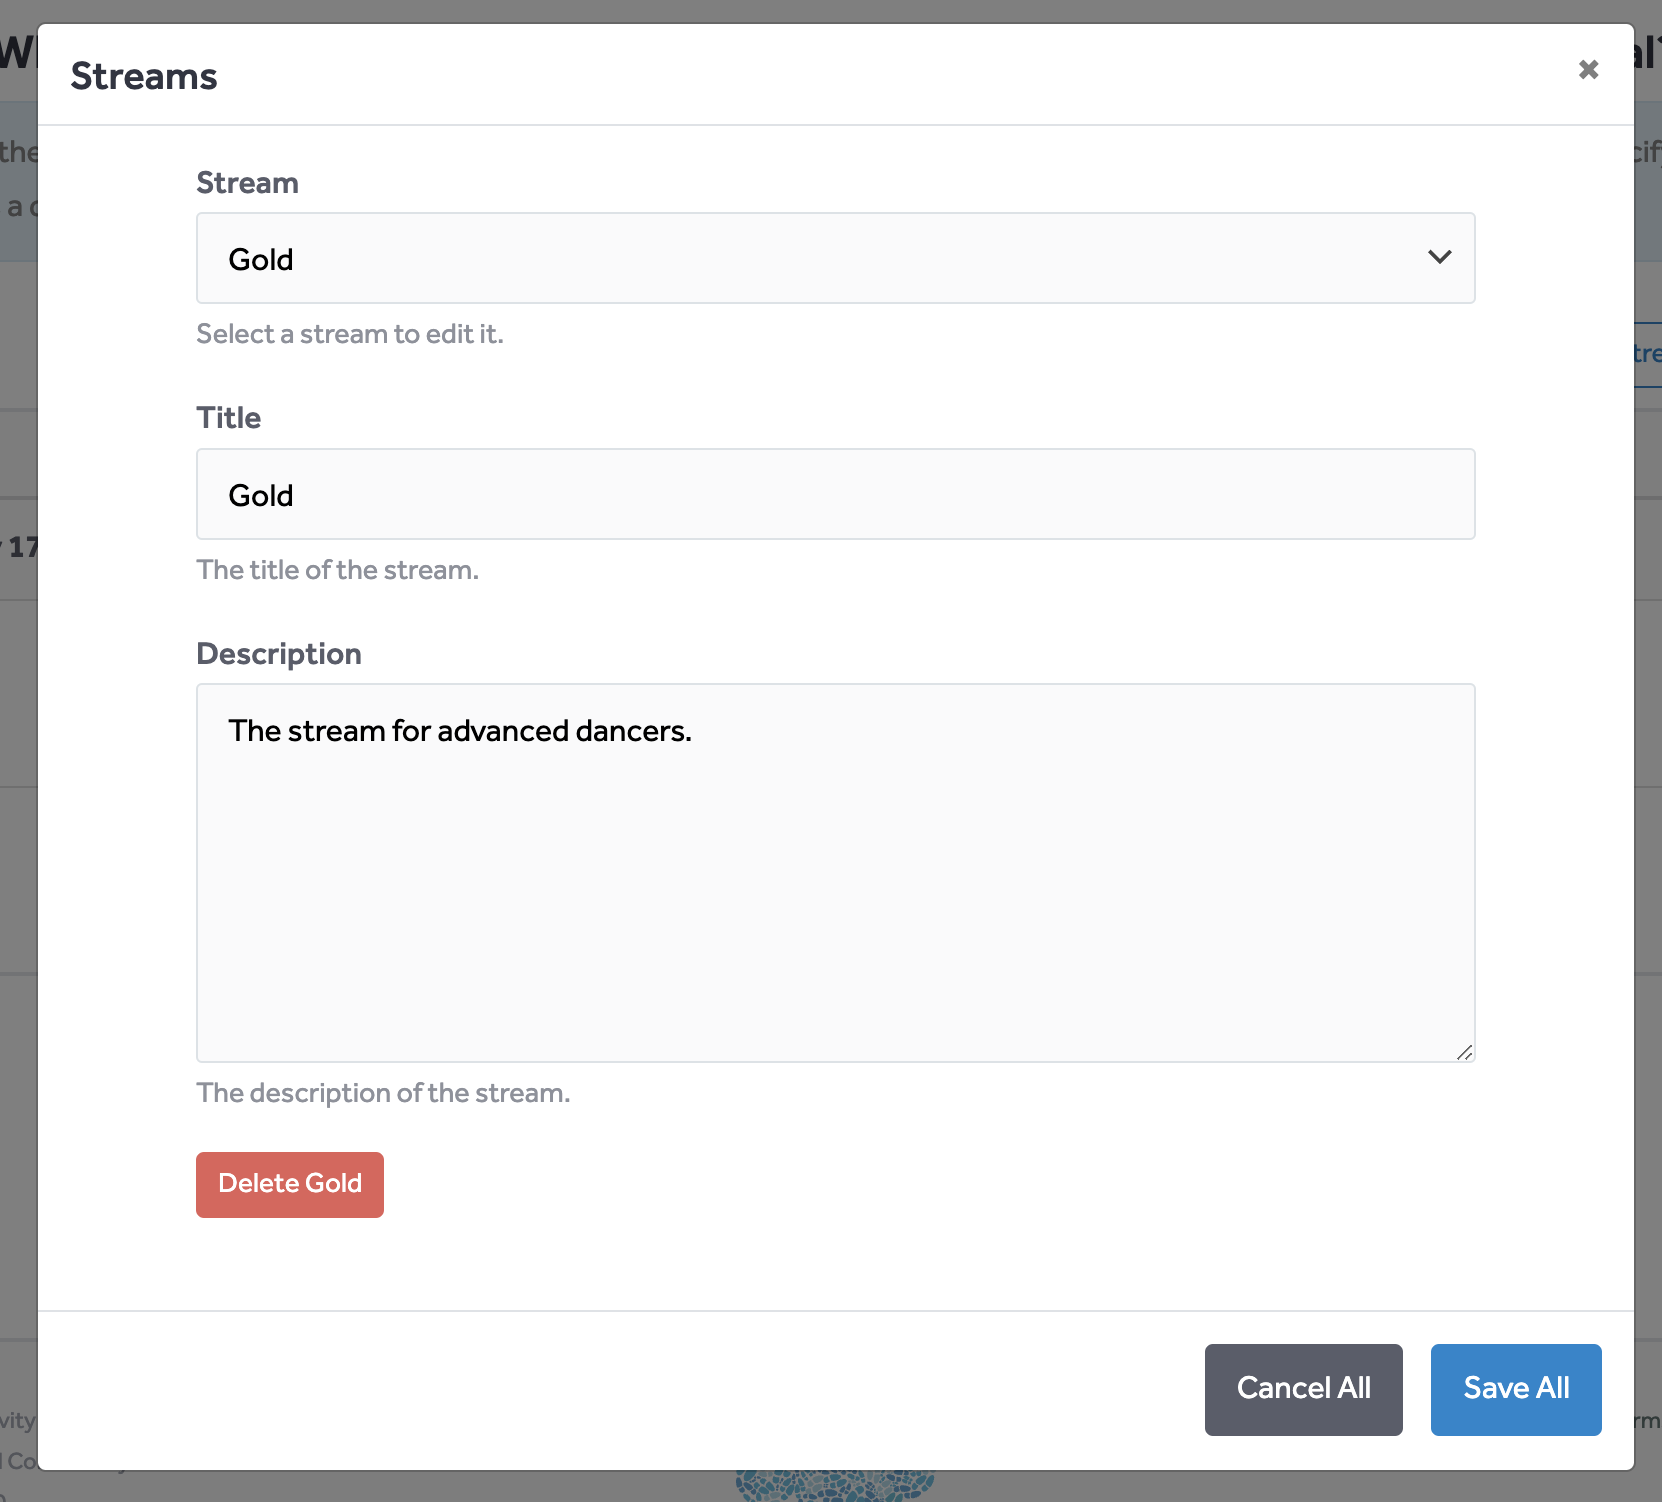
Click this to open a modal that allows you to edit all your streams. Use the dropdown at the top of the modal to select the stream you want to edit. You can edit multiple streams and all will be saved when you click the Save All button.

Deleting Streams
As shown in the image above, the Edit Streams modal has a button to delete a stream. Click this, and you will then be prompted to confirm that you want to delete the stream.
DANGER
Deleting a stream will also delete all the stream's lessons in your schedule. Deleting a stream and all its lessons cannot be reversed.
What's Next?
In the next step, we'll create the ticketing options for customers booking at your event.