Listing Events
Media & Content
In this chapter we'll cover choosing an image and other content for our event listing.
This step is about making your listing look great and stand out to dancers! Everything on this step is optional, but all improve the quality of your listing.
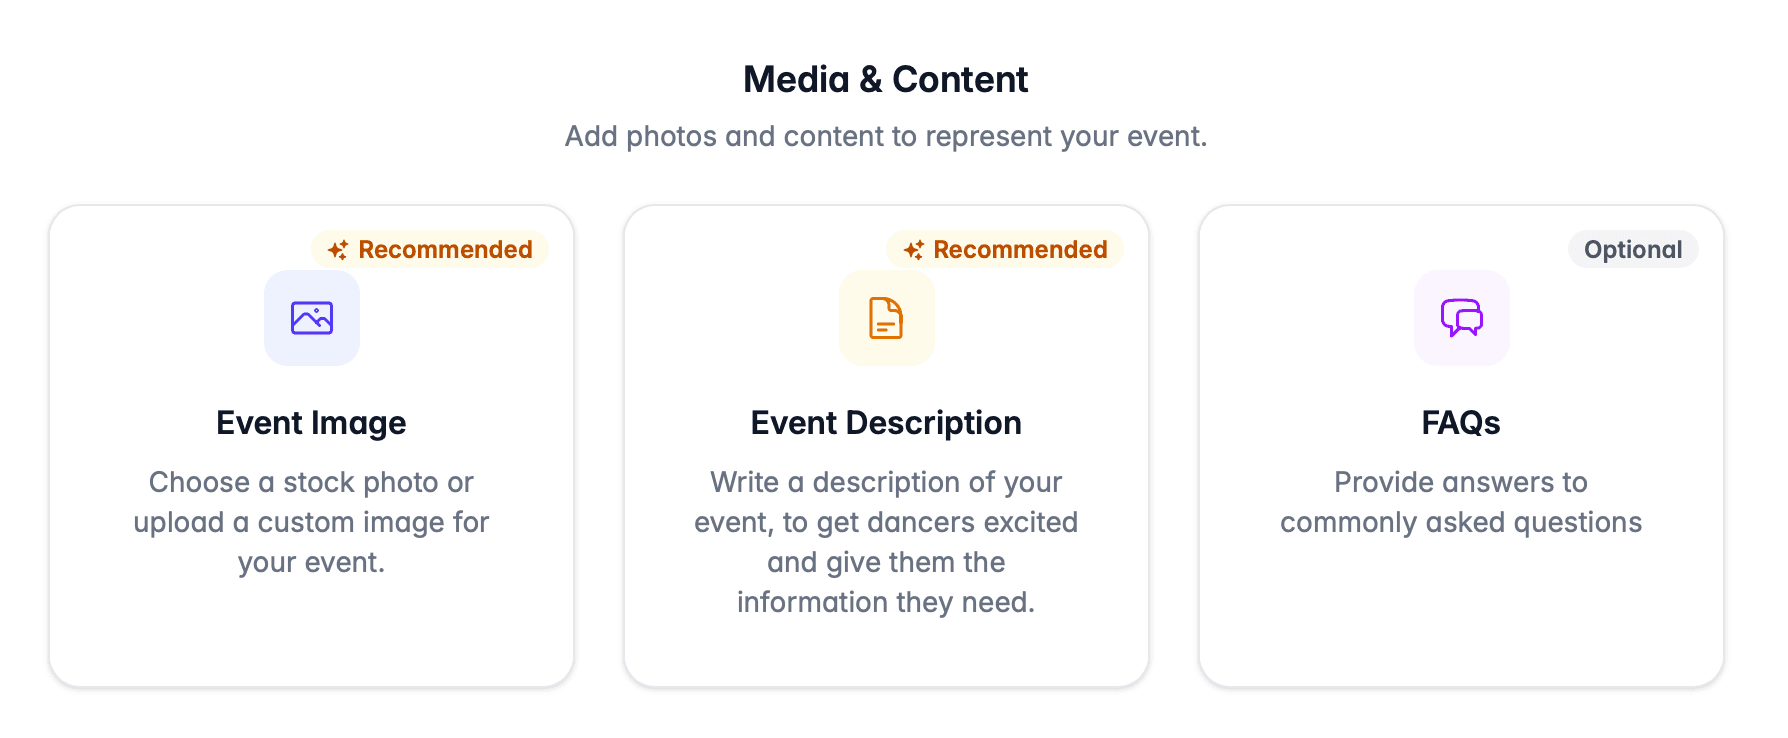
Event Image
Event images make your event stand out in DanceCloud Listings. Additionally, for recurring events it provides a consistent visual clue, allowing dancers to easily spot your event.
You can choose:
- to upload your own images; or
- choose a stock image from Unsplash. Use this if you do not have your own images.
Choose Event Image from the options on this step, then choose whether you will upload an image (Media Library) or use a stock image:
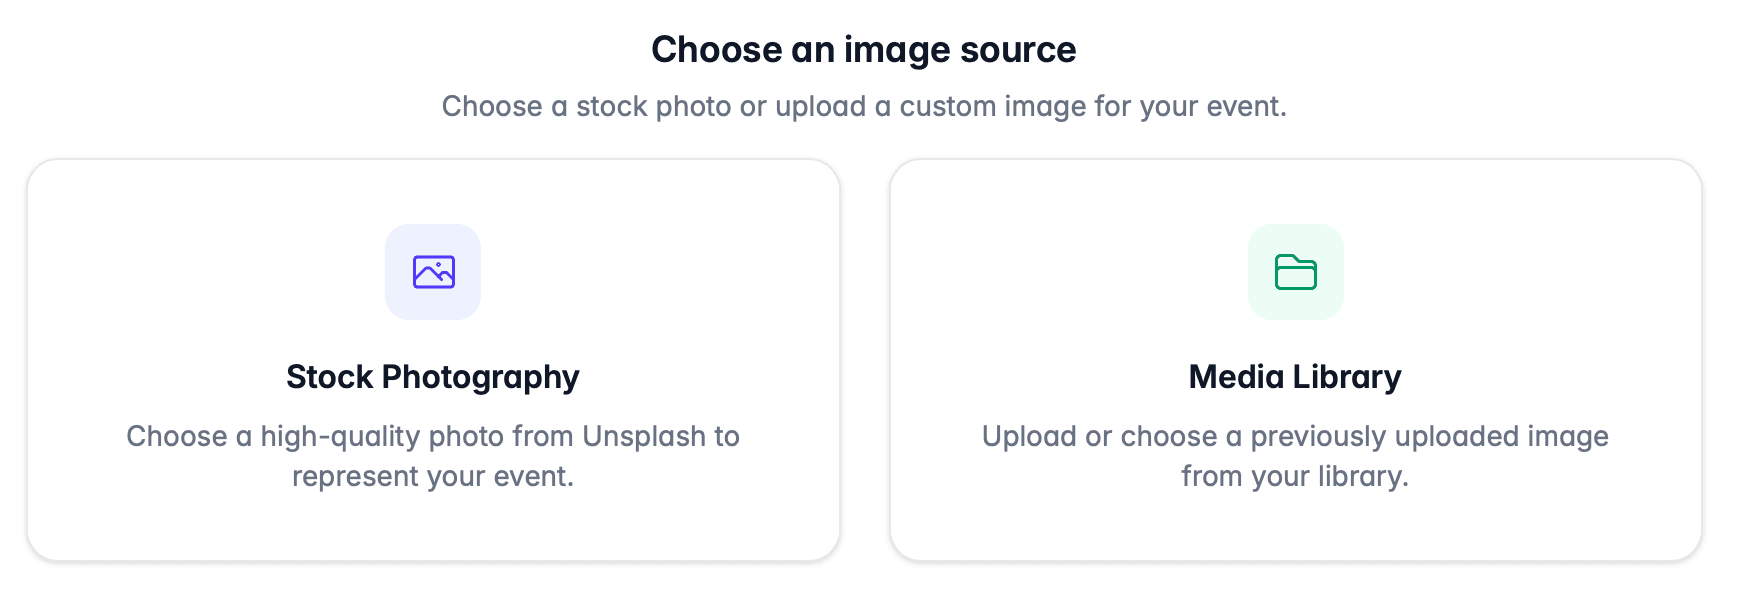
Image Upload (Media Library)
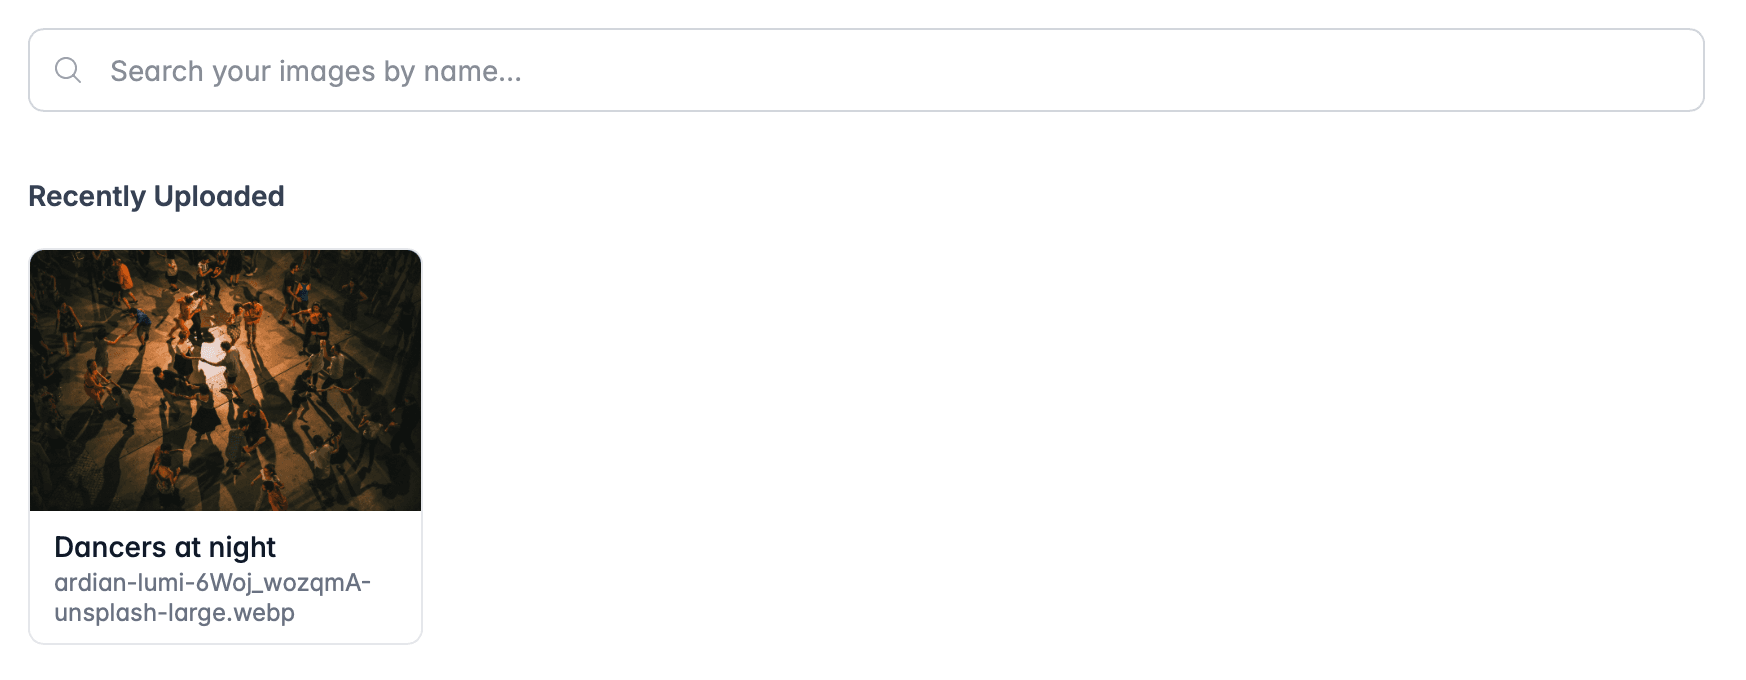
Choose Media Library if you want to use your own image. Your Media Library allows you to choose an image you've previously uploaded, or upload a new one. Images are always saved in your media library, so you can quickly reuse them across different event listings.
Use the search box to find an image that you've previously uploaded, if it is not shown in the recently uploaded list:
To upload a new image, use the box at the top of the media library. Enter an image title - this is what you can use to find the image later; then click the Choose File button to find the file to upload. Then click Upload.
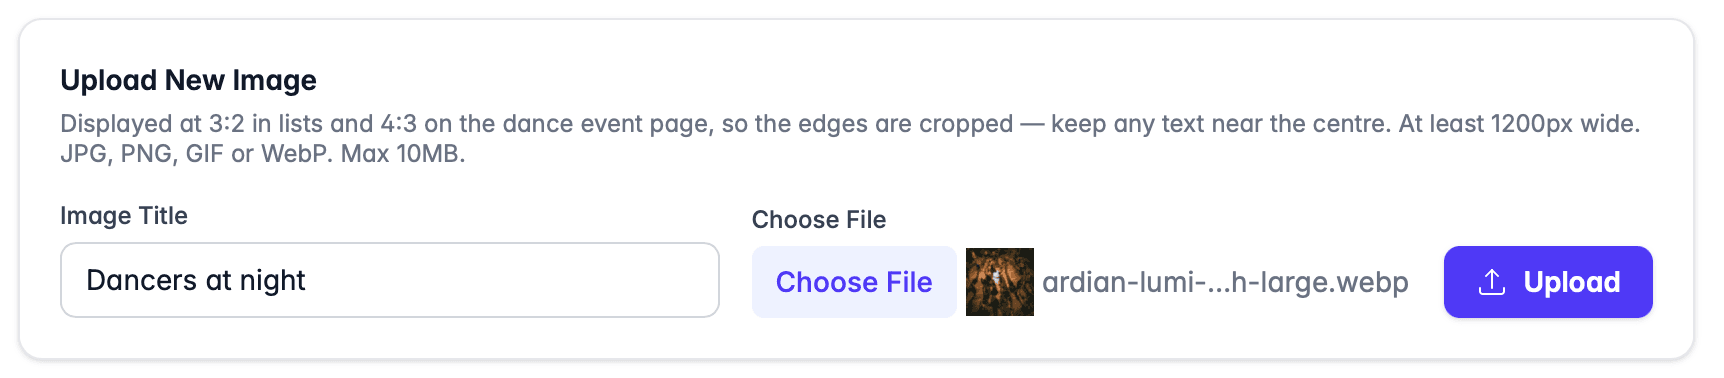
Image Guidelines
Event images are displayed at 3:2 in lists and 4:3 on the dance event page. These ratios have been selected as they work well for photos, and give enough width and height to show dancers within the photo frame.
We recommend uploading an image that is 3:2, meaning the edges are cropped when it is displayed at 4:3. Keep any text near the centre. The image must be at least 1200px wide. JPG, PNG, GIF or WebP. Max 10MB.
Stock Images
If you do not have your own images, you can choose a stock image from Unsplash.
The stock images page will show any stock images you've recently used. Click an image if you want to reuse it for this listing.
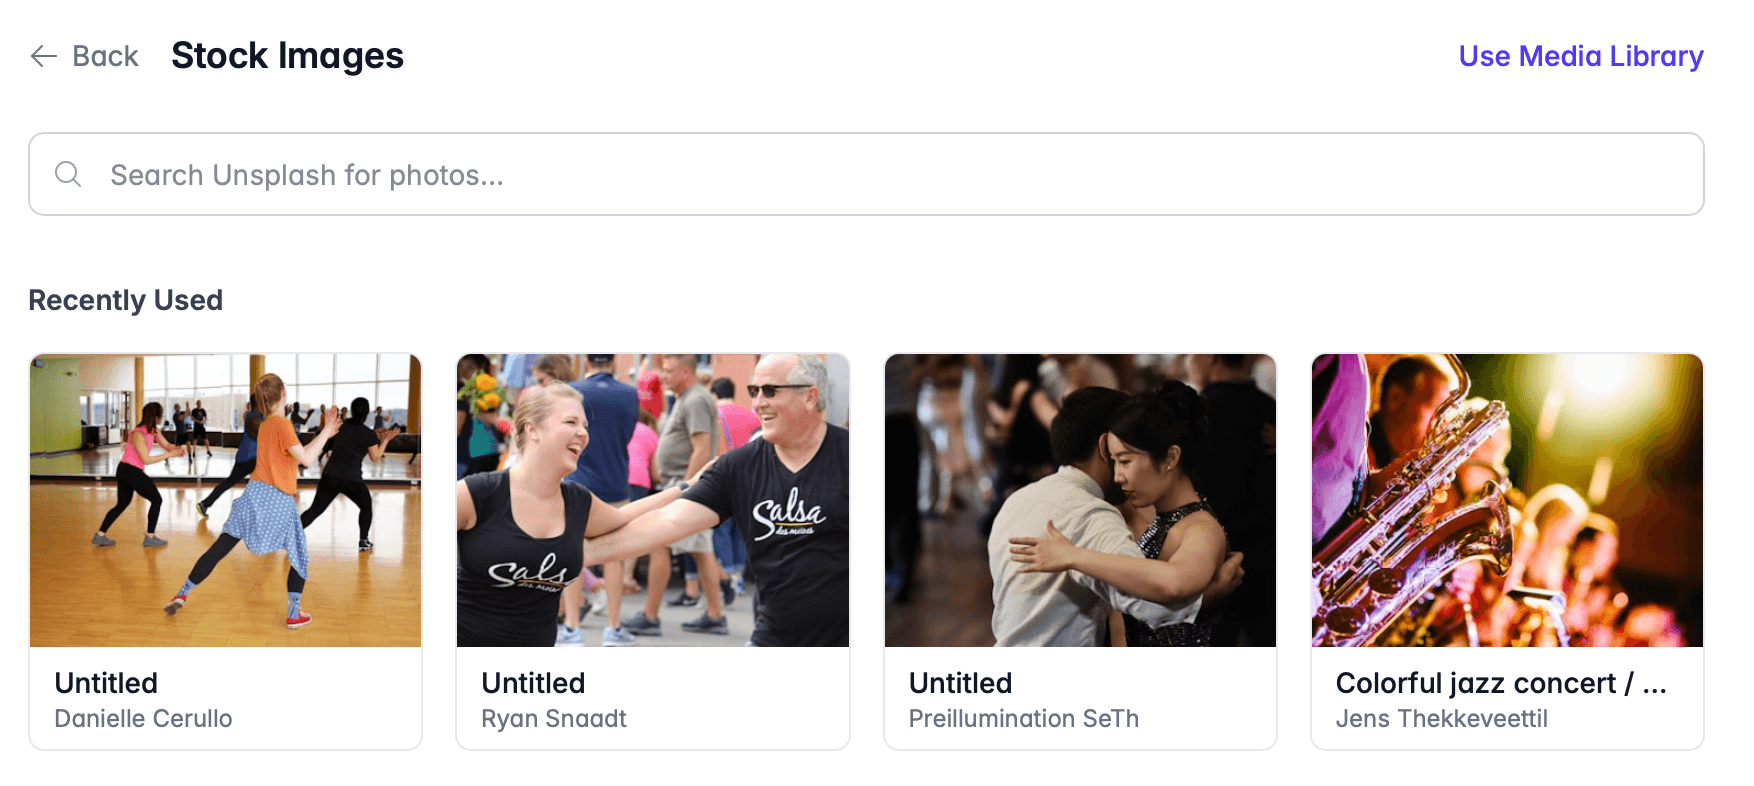
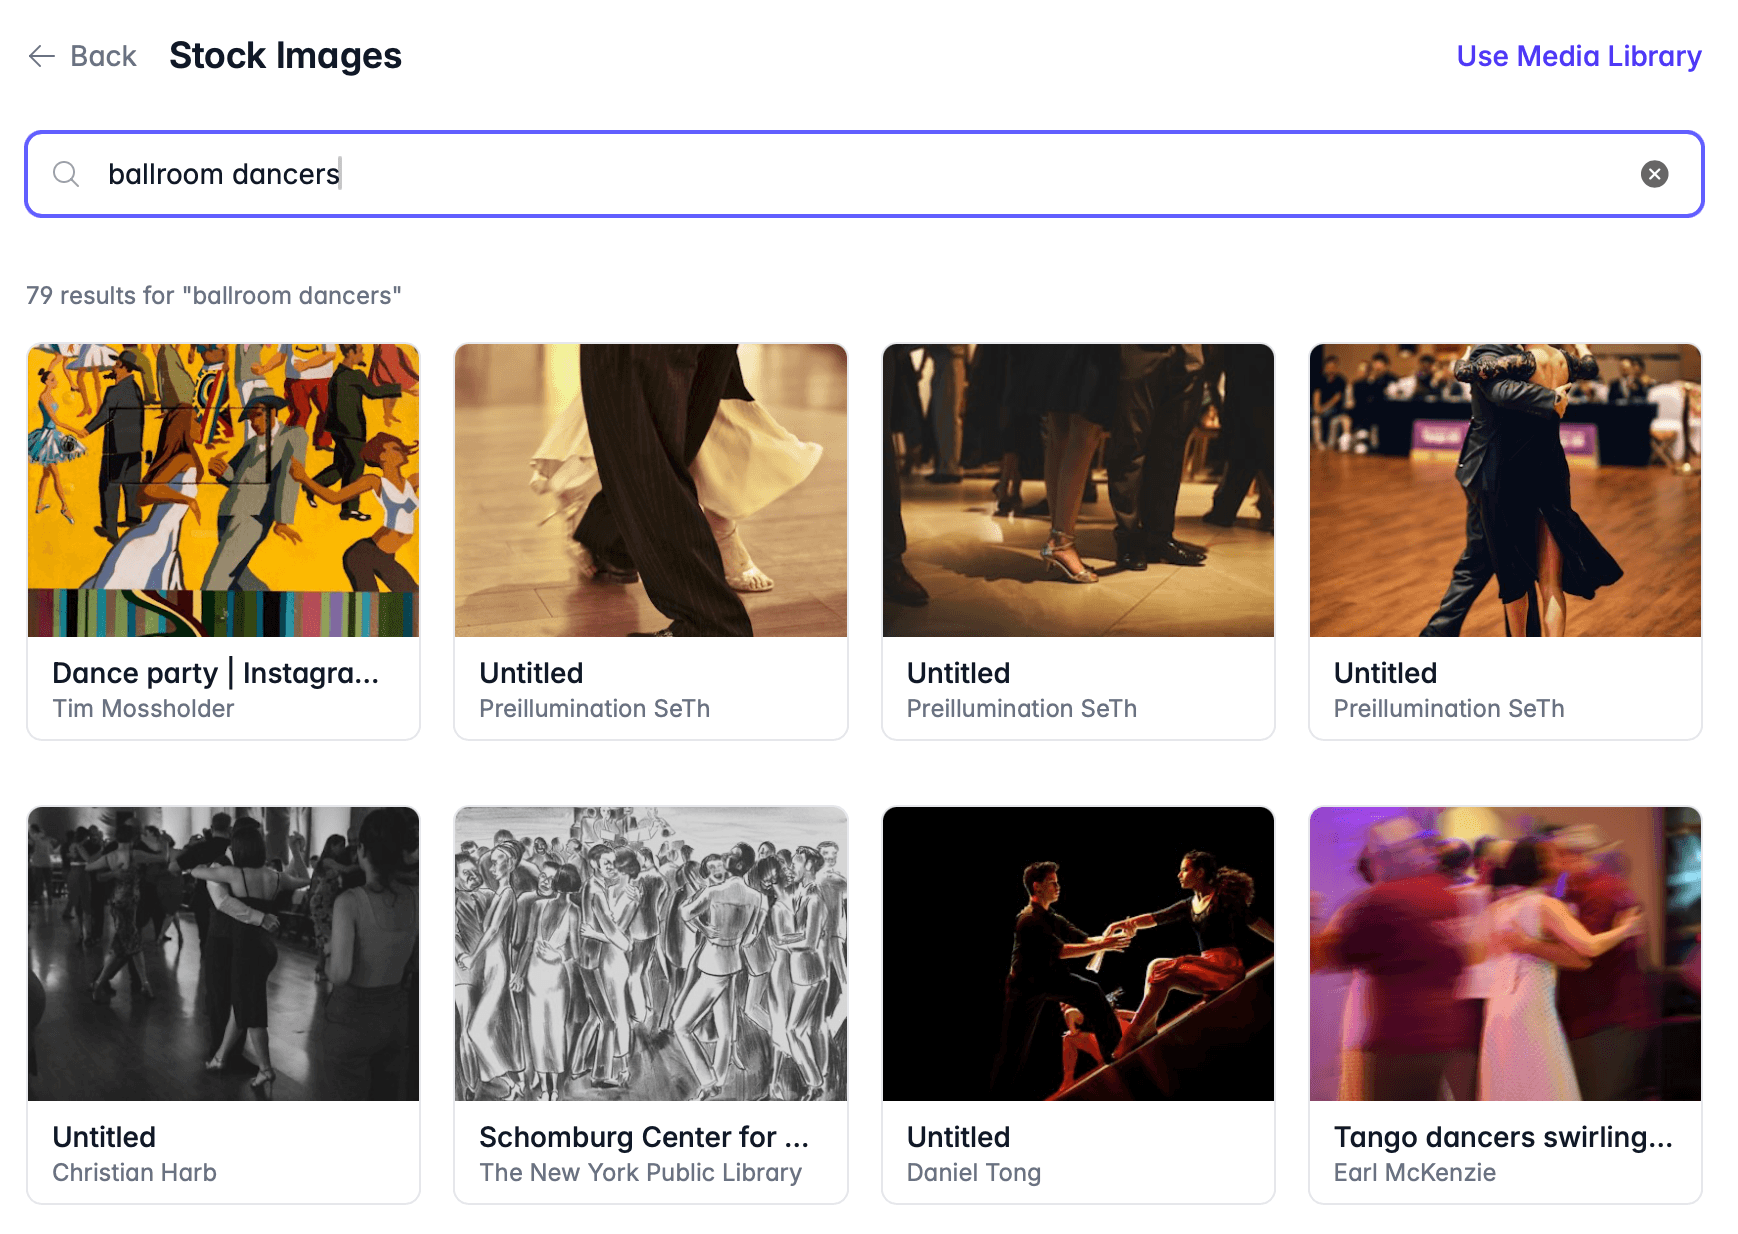
To find a new image, use the search box. This will provide results from Unsplash: use the Load More button if you want to see more results for your search term.
To select an image, click on it to view it at full size. Then click the Use Image button.
Description
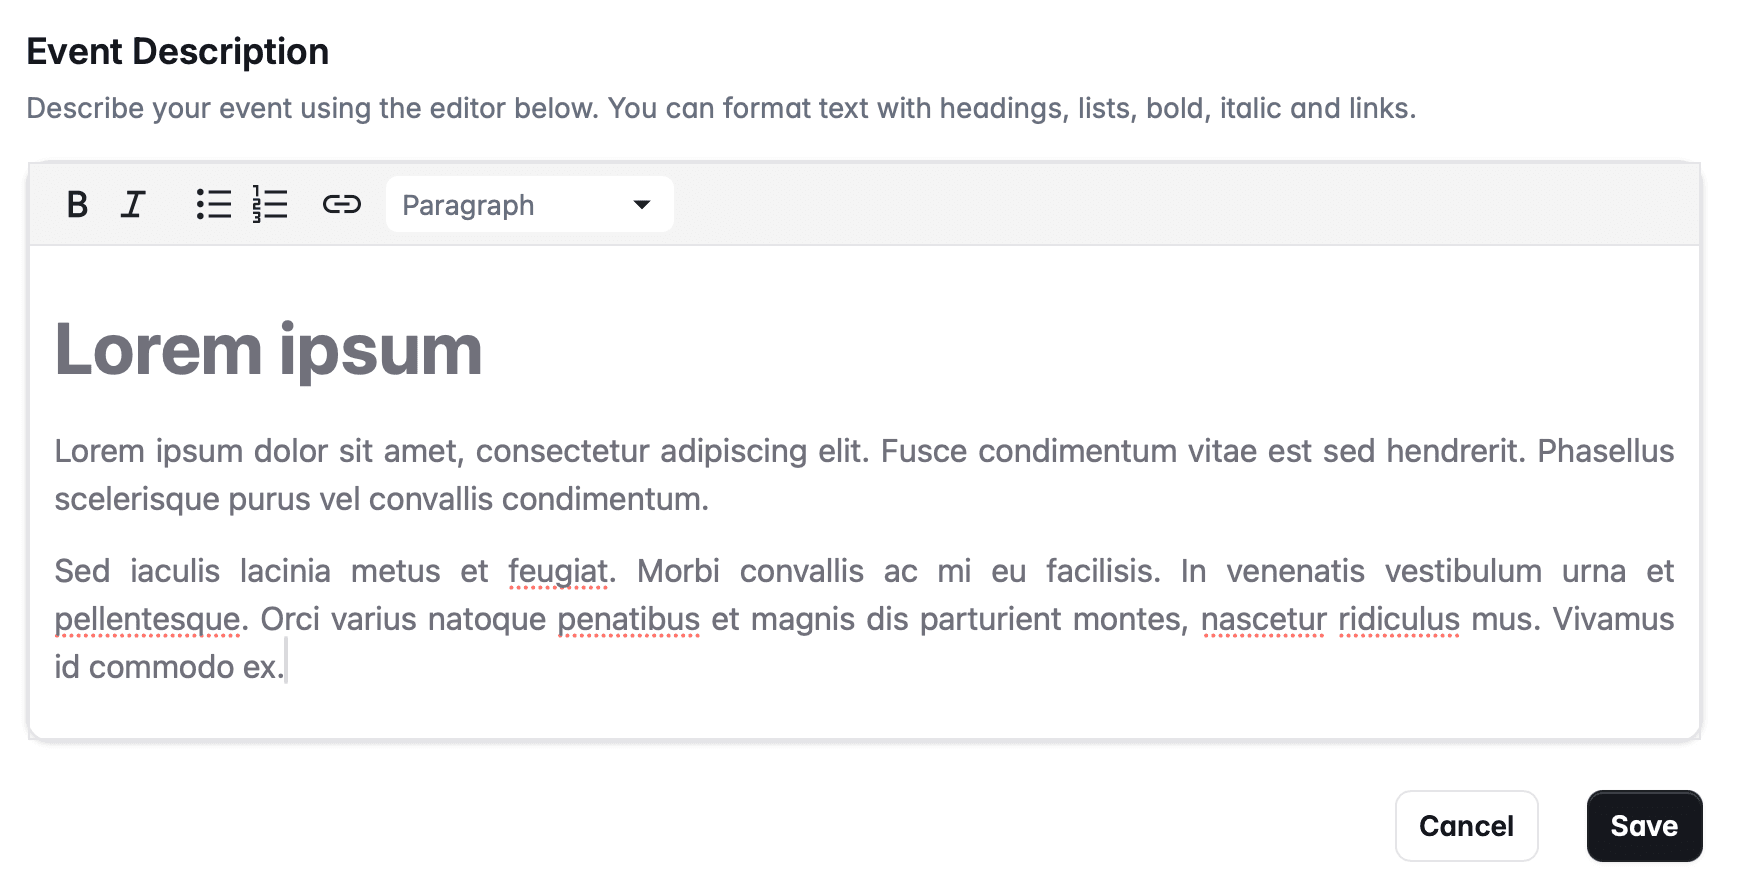
Choose Event Description if you want to add a free-text description about your event. This is shown on the event's listing page.
When we display your event to dancers, we show the schedule that you entered earlier. So there is no need to repeat the schedule in the description. You can see this when you preview or publish the event on the final step.
Frequently Asked Questions
You can choose to add FAQs to your event listing. You can either create a set of FAQs specific to this event, or DanceCloud allows you to save "Global" FAQ groups, that you can easily apply to multiple events.
For example, you could have a set of "Beginner FAQs" that you attach to every event that has a beginners lesson. Or a "Default" set that you apply to most events.
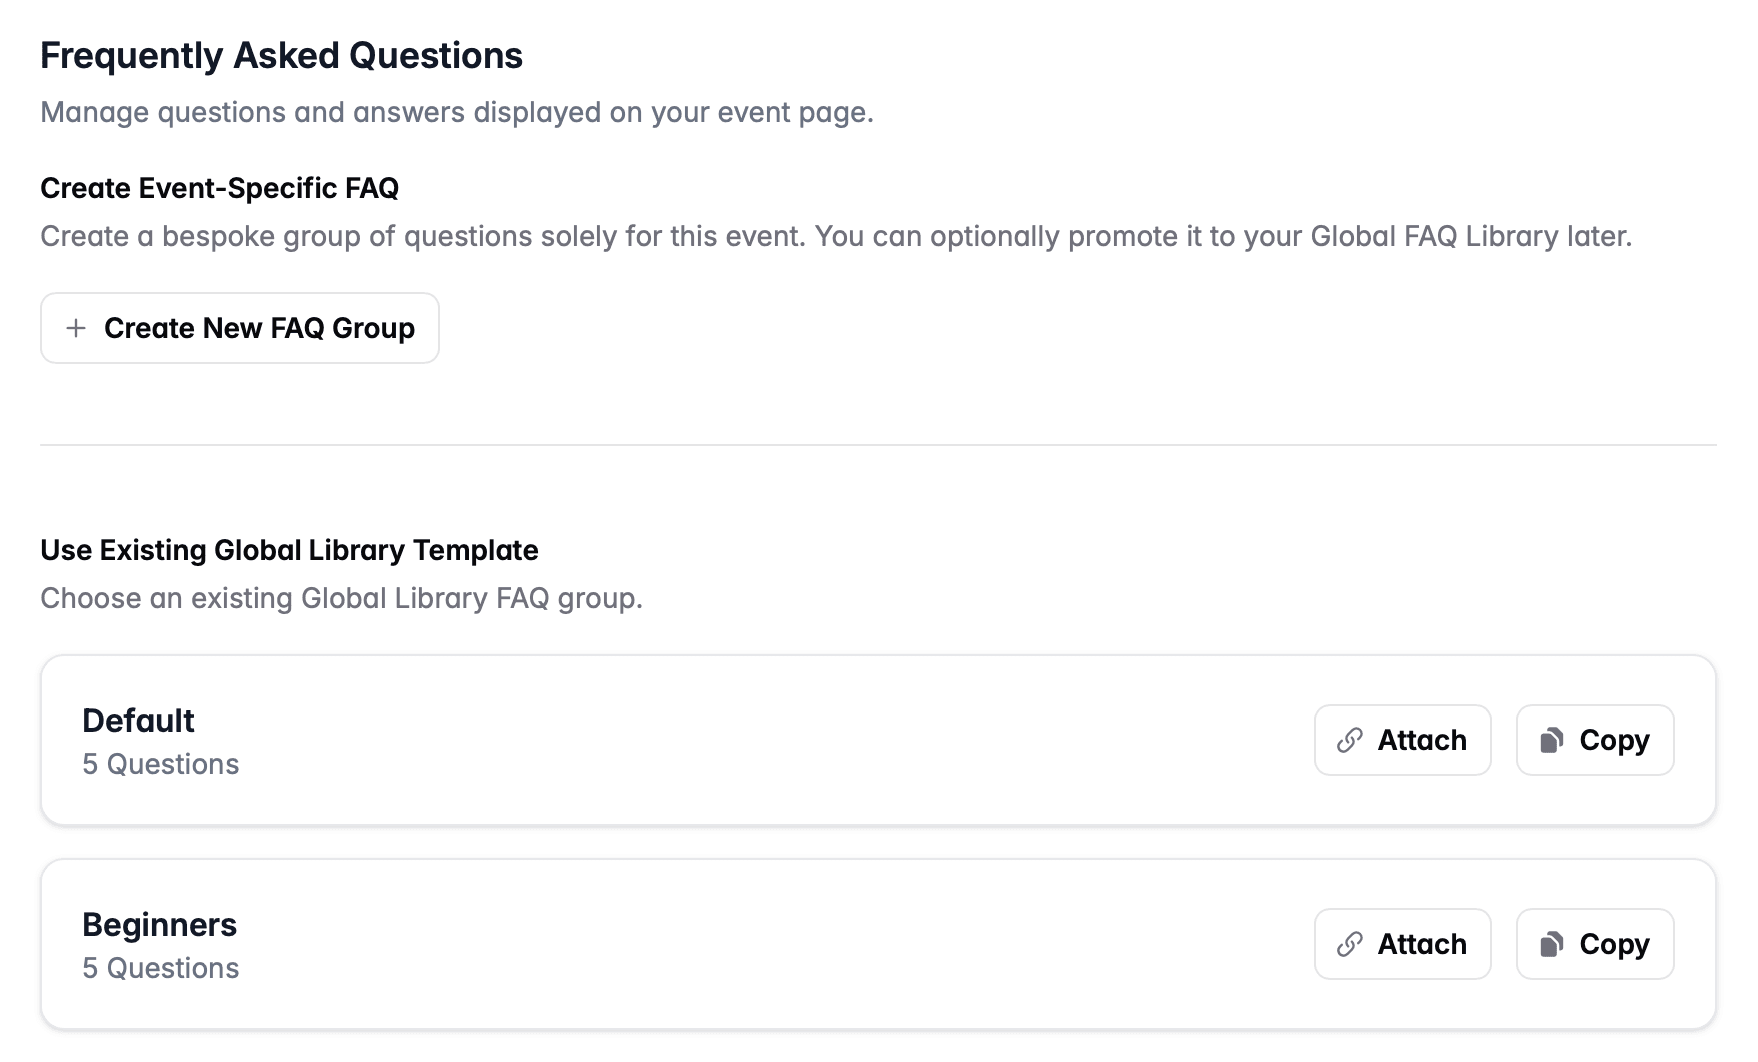
When you choose the FAQs option on this content step, you'll be given the choice to create a new set of FAQs or attach an existing set:
Existing FAQs
In the Use Existing Global Library Template section, you will see a list of FAQ groups to choose from. Use the Attach button to use a group for this event's listing.
If you want to create a new group that is based on an existing group, click the Copy button. This allows you to quickly create a new group, if it is very similar to an existing group you have.
Creating FAQs
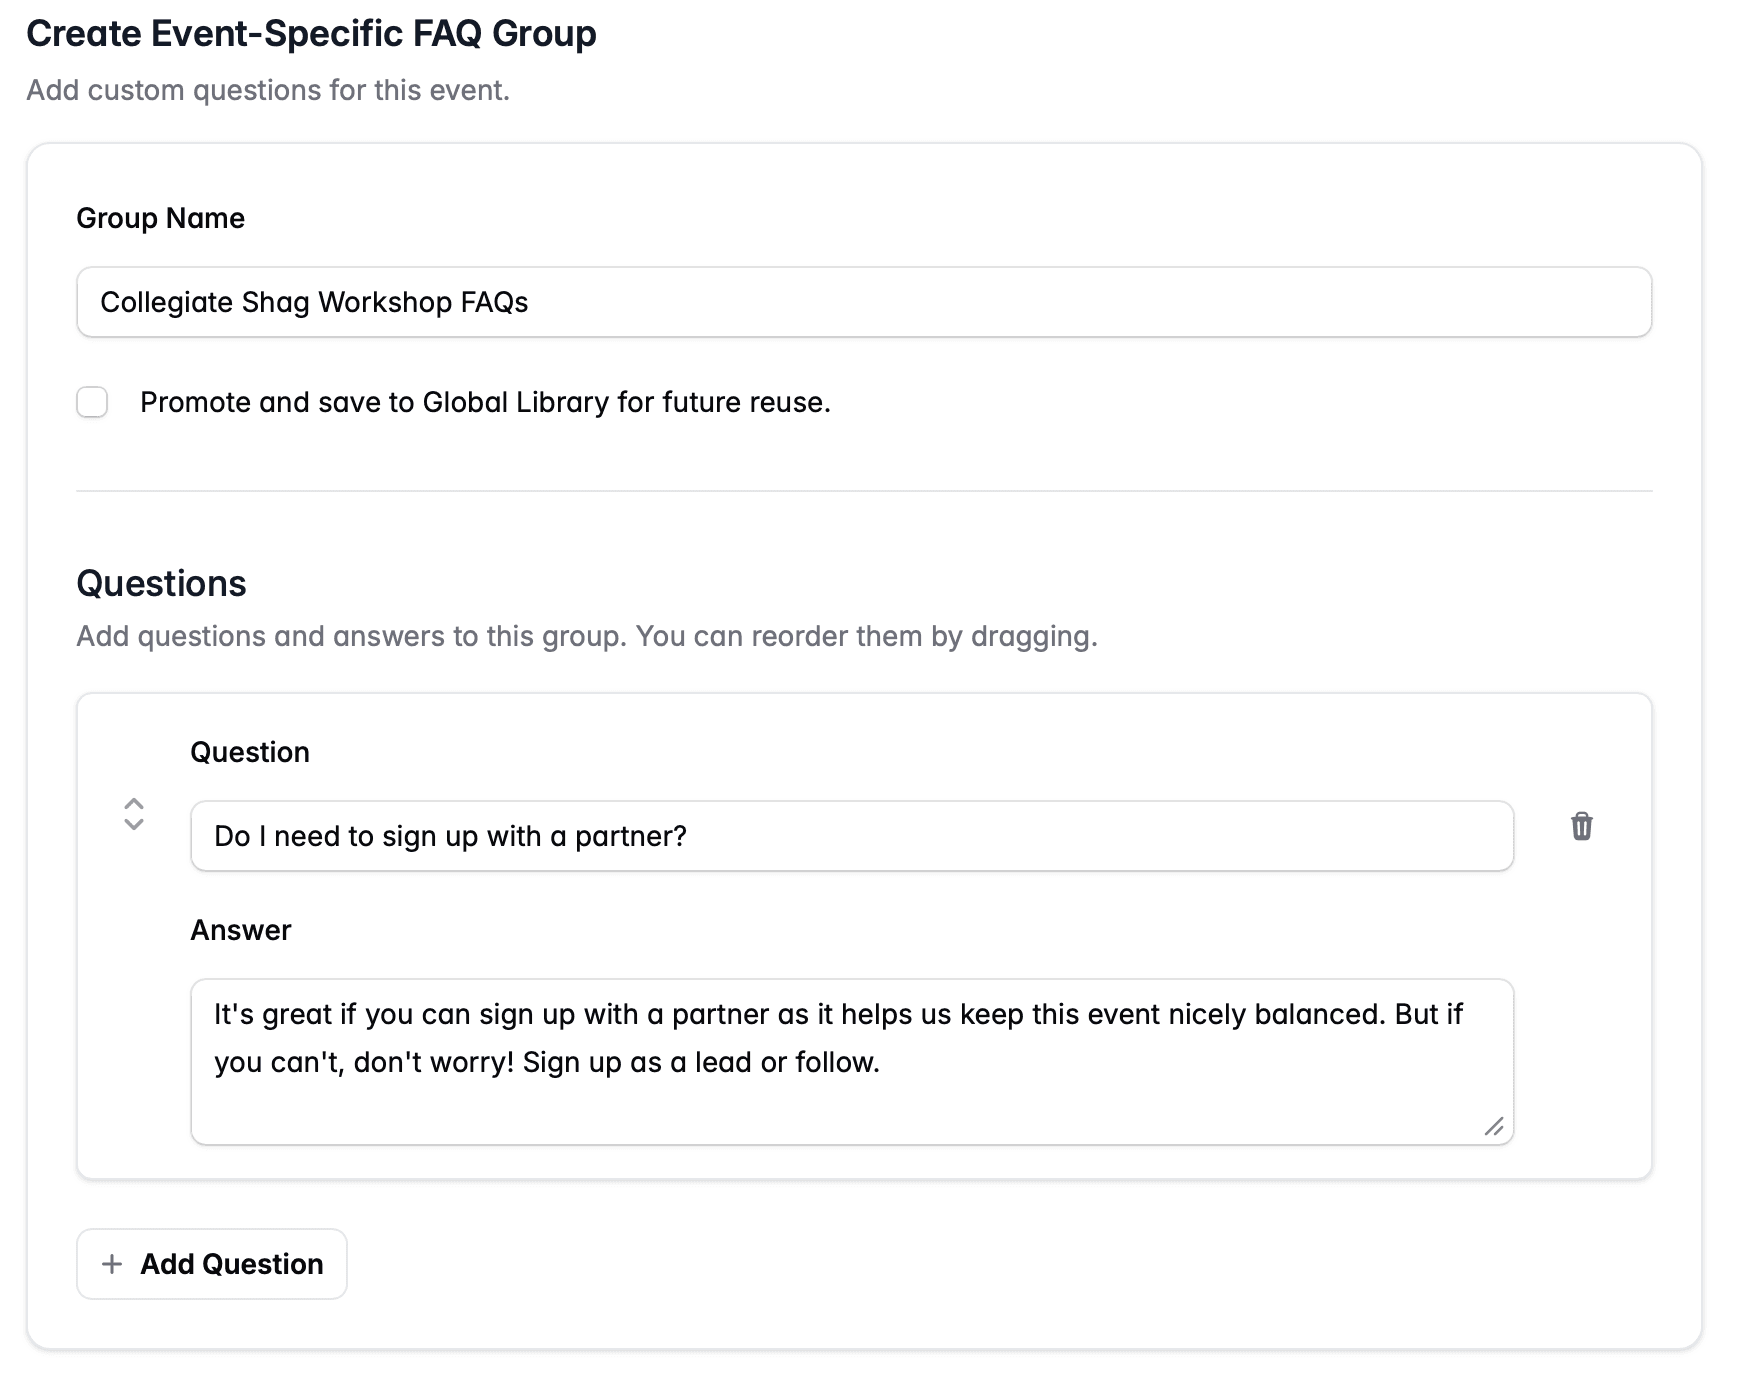
Use the Create New FAQ Group button if you want to create a new group from scratch.
Enter a title for the group - this is not shown to dancers, it's so you can identify the group in the future. Then if you want to save this as a reusable FAQ group, tick the Promote and save to Global Library option.
Then add your first question and answer, and then click Add Question to add more. If you need to remove a question, use the trash icon to the right of the question.
You can also reorder the questions. Click the arrows icon to the left of the question and drag and drop it to a new position.
Once you are finished, click Save.
What's Next?
In the next step, we'll publish our event.