Get Started
Step 2 - Your Profile
Every organiser on DanceCloud gets a public profile in DanceCloud Listings. This will be visible once you publish your first event.
Here are some examples of profiles:
In this chapter, we'll cover how to customise your organisation's profile.
Settings
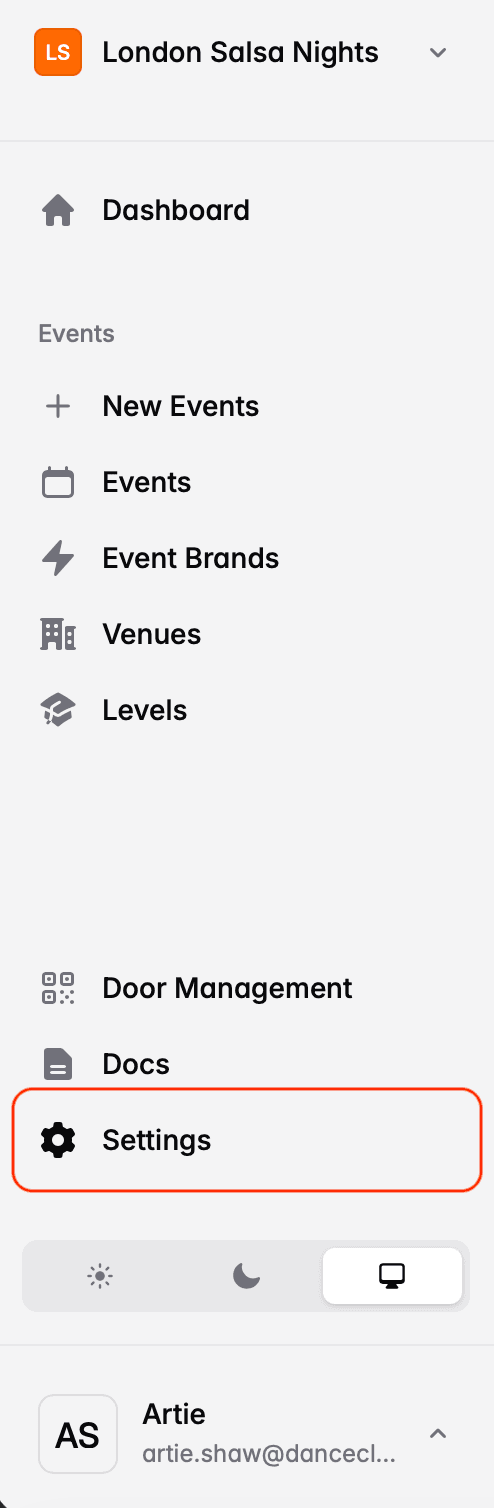
All the pages mentioned in this chapter are found by choosing Settings from the main menu:
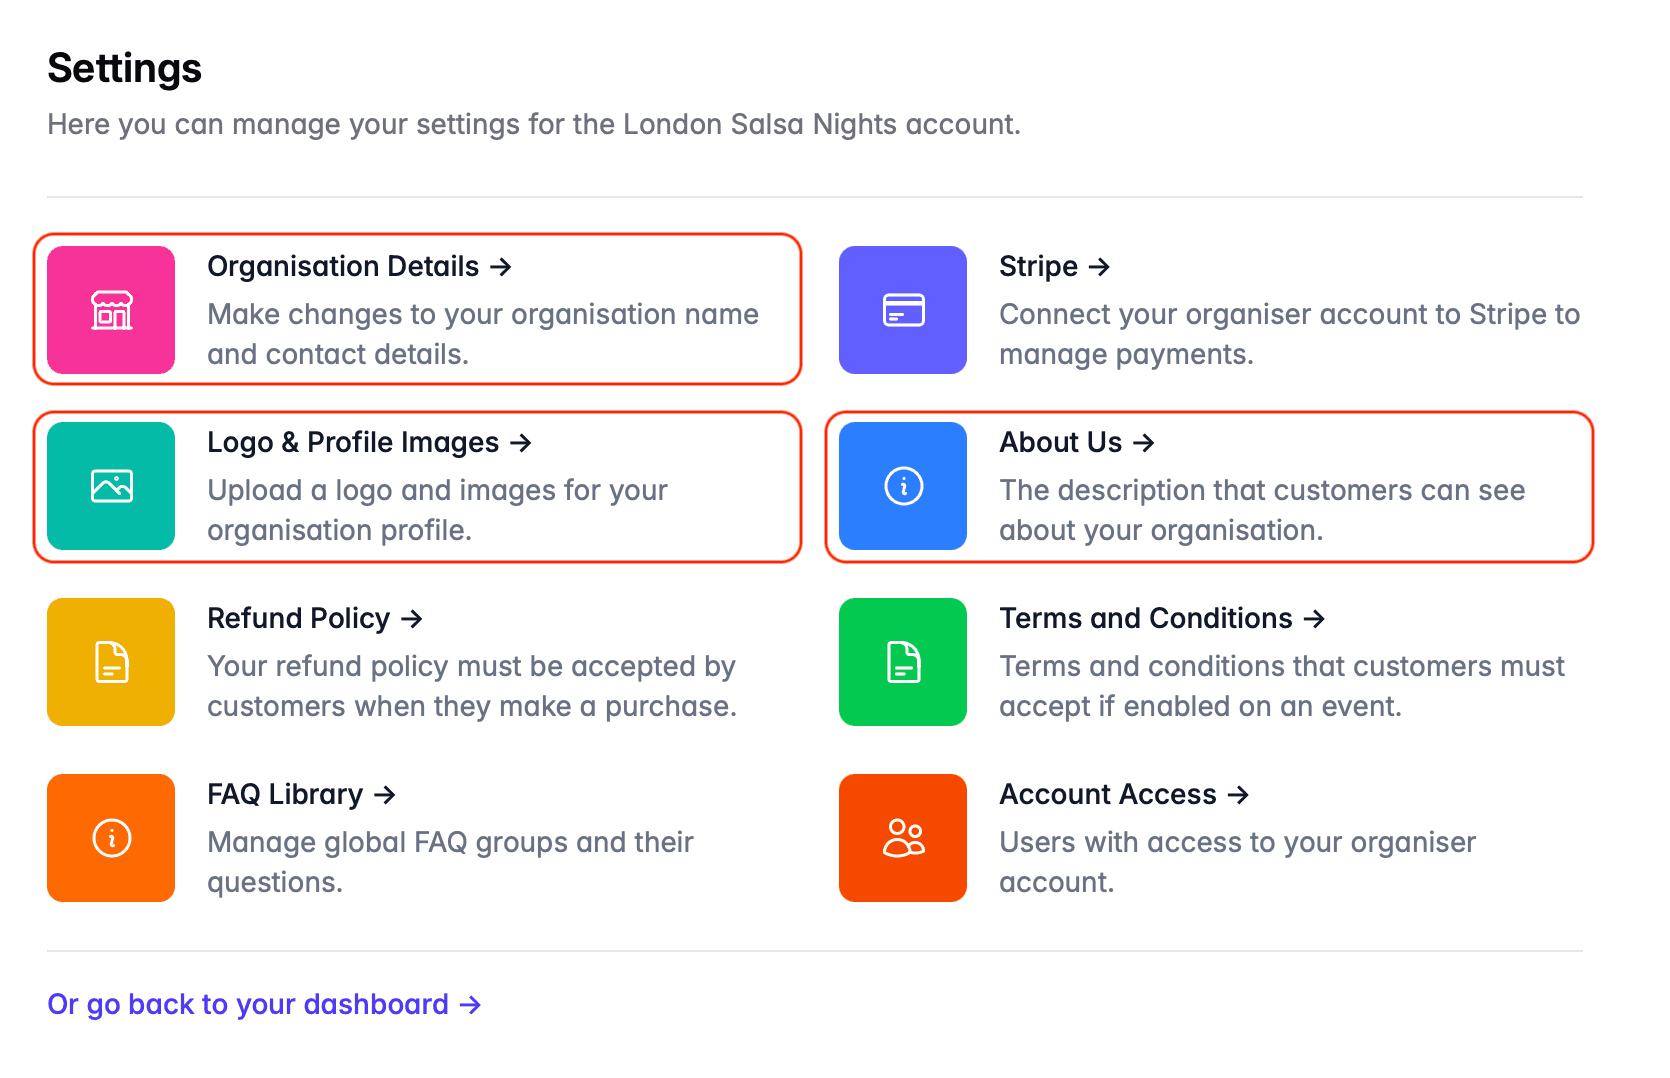
This will show you the following choice of pages - we'll be using Organisation Details, Logo & Profile Images, and About Us in this chapter:
Organisation Details & Social Media
Choose Organisation Details to add more information about your organisation, including social media links.
We recommend adding the following:
- Short description: this is the intro paragraph shown on your public profile. Use it to describe your organisation in a few sentences.
- Website: if you have your own website, ensure this is filled in so visitors can navigate to your website.
- Social media: add your social media handles so dancers can visit them from DanceCloud Listings.
Logo & Profile Images
On the Logo & Profile Images page you can upload your logo plus the cover image used on your DanceCloud profile.
Your logo must be square, and at least 400 x 400px.
For the cover image, we've matched the dimensions used by Facebook Pages. The image must be at least 1280 x 474px. It's displayed at 2.7:1 on desktop and 16:9 on mobile, so the sides can be cropped. We recommend keeping any text near the centre.
You can also upload a social preview image. This is used when any of your organisation's pages are shared on social media. This must have an exact 2:1 aspect ratio, and must be at least 1280 x 640px. This is a standard size for social media preview images.
About Us
The About Us page allows you to enter a free-text description of your organisation. This is shown on your organisation's profile, on the About Us page.
What's Next?
Next we'll define the experience levels for classes that you teach.