Listing Events
Rescheduling & Cancelling Events
This chapter covers how to reschedule an event, i.e. if you need to move it to a different date. Or alternatively, you can mark an event as cancelled.
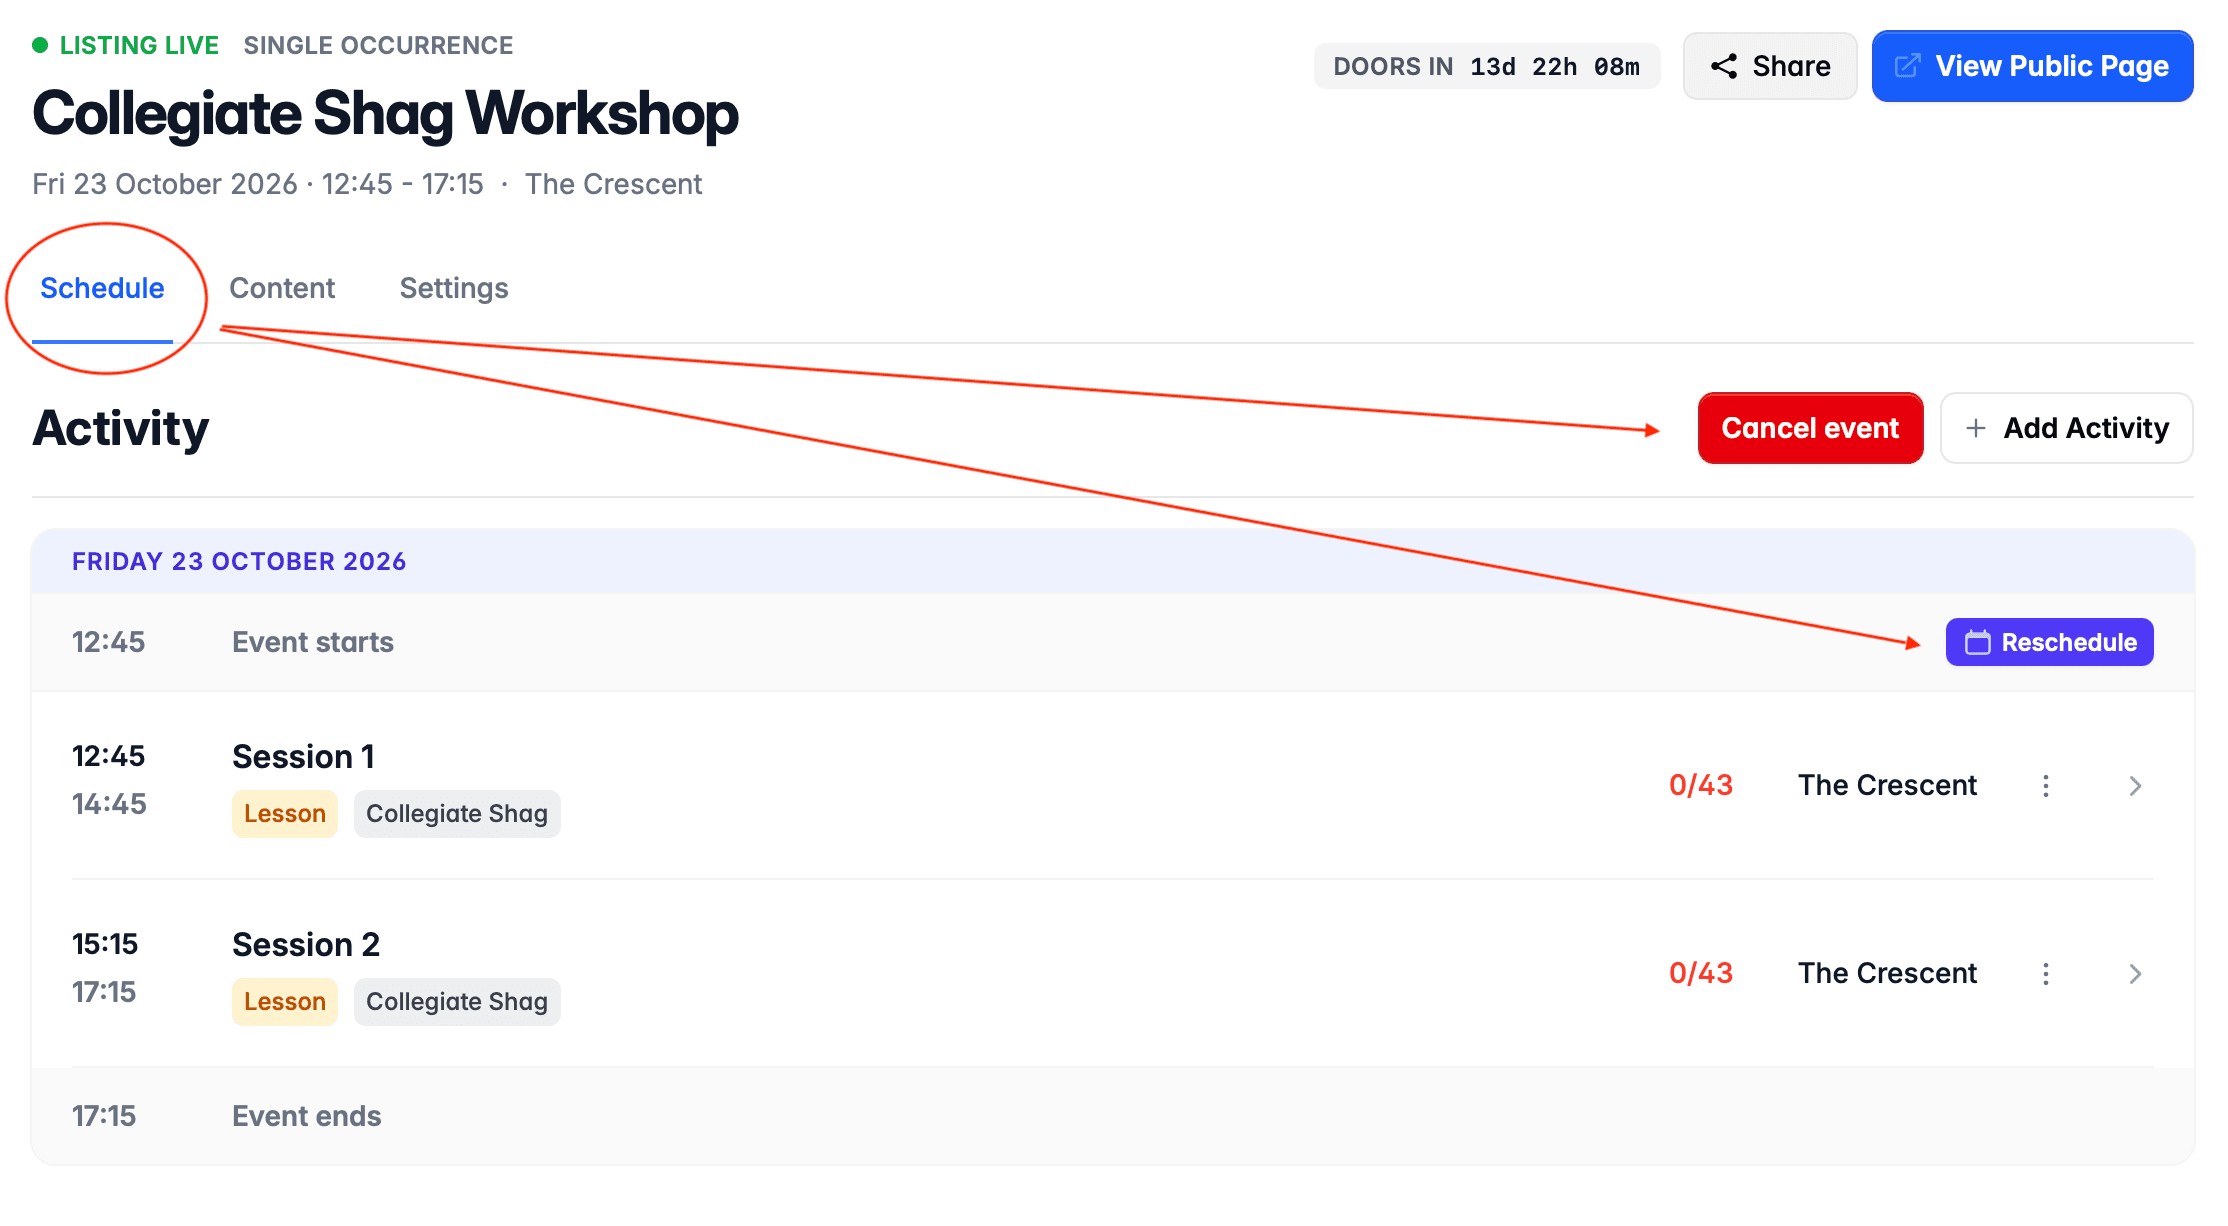
Both are available from the Schedule page when viewing your published event:
Rescheduling
Rescheduling allows you to move an event to a new date. DanceCloud will also move all other dates at your event - for example, the dates and times of each activity in your schedule - relative to the date change.
Click the Reschedule button. This will open a drawer that asks for the new date and time:
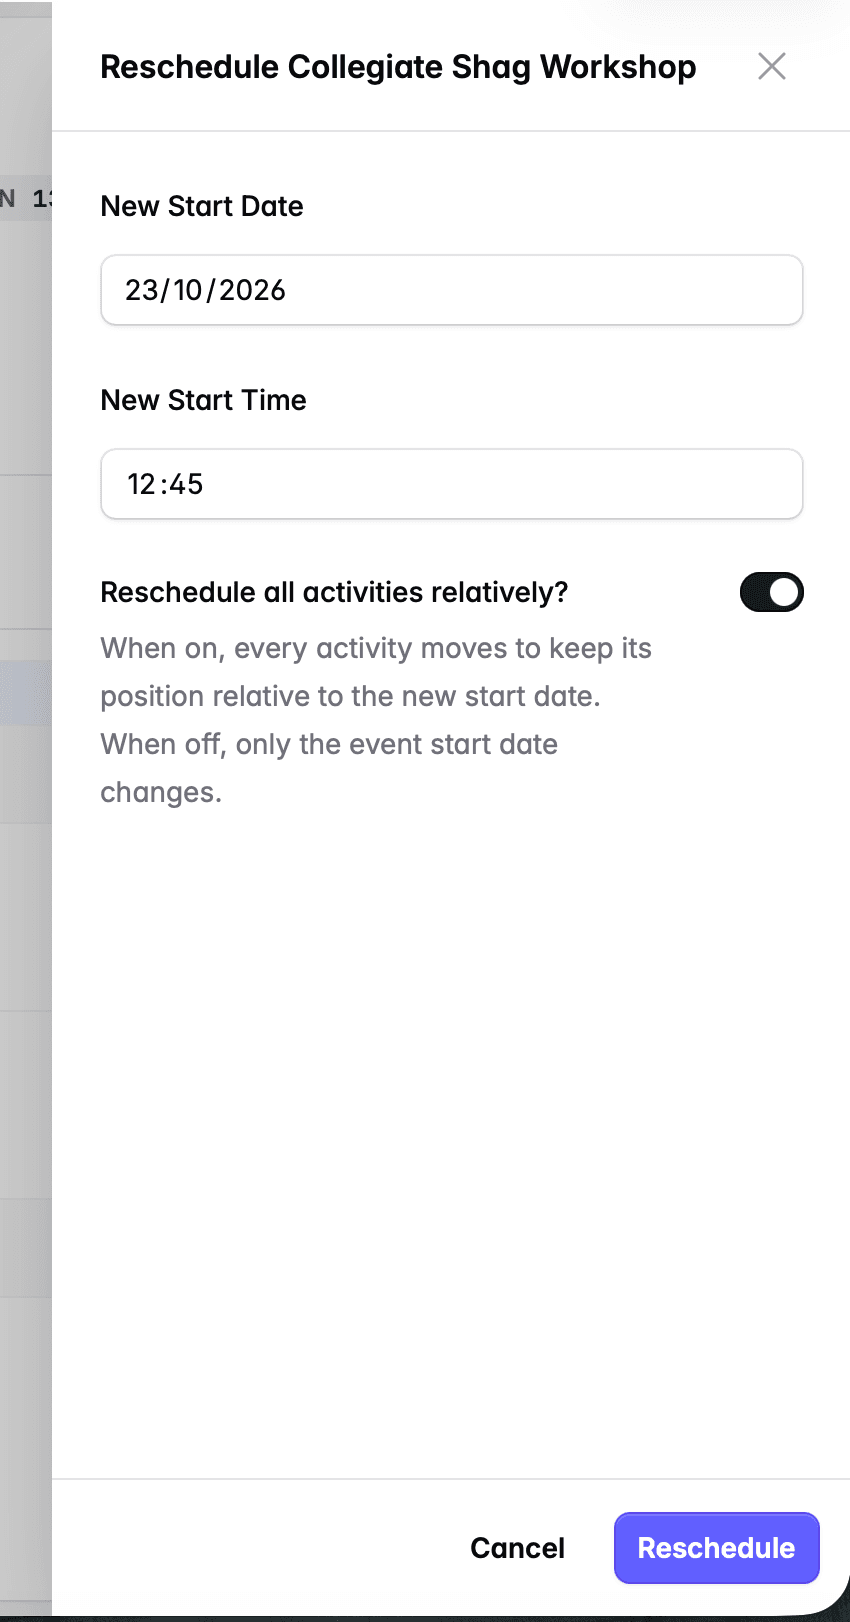
By default, the Reschedule all activities option is selected. This means all other dates will move relatively. If you are handling registrations on DanceCloud, it will also move things like ticket sales open dates relatively to the new date.
Untoggling this option will mean that only the event start date and time will change; everything else will be left untouched.
Cancelling the Event
To mark your event as cancelled, use the Cancel button. You will be prompted to confirm.
This marks the whole event as cancelled. It will no longer appear in dancers' search results in DanceCloud Listings. If someone accesses the public URL of the event, it will be clearly marked as cancelled.
Once an event is cancelled, an Uncancel button will be shown, in case you need to revert the change.
Cancelling Activities
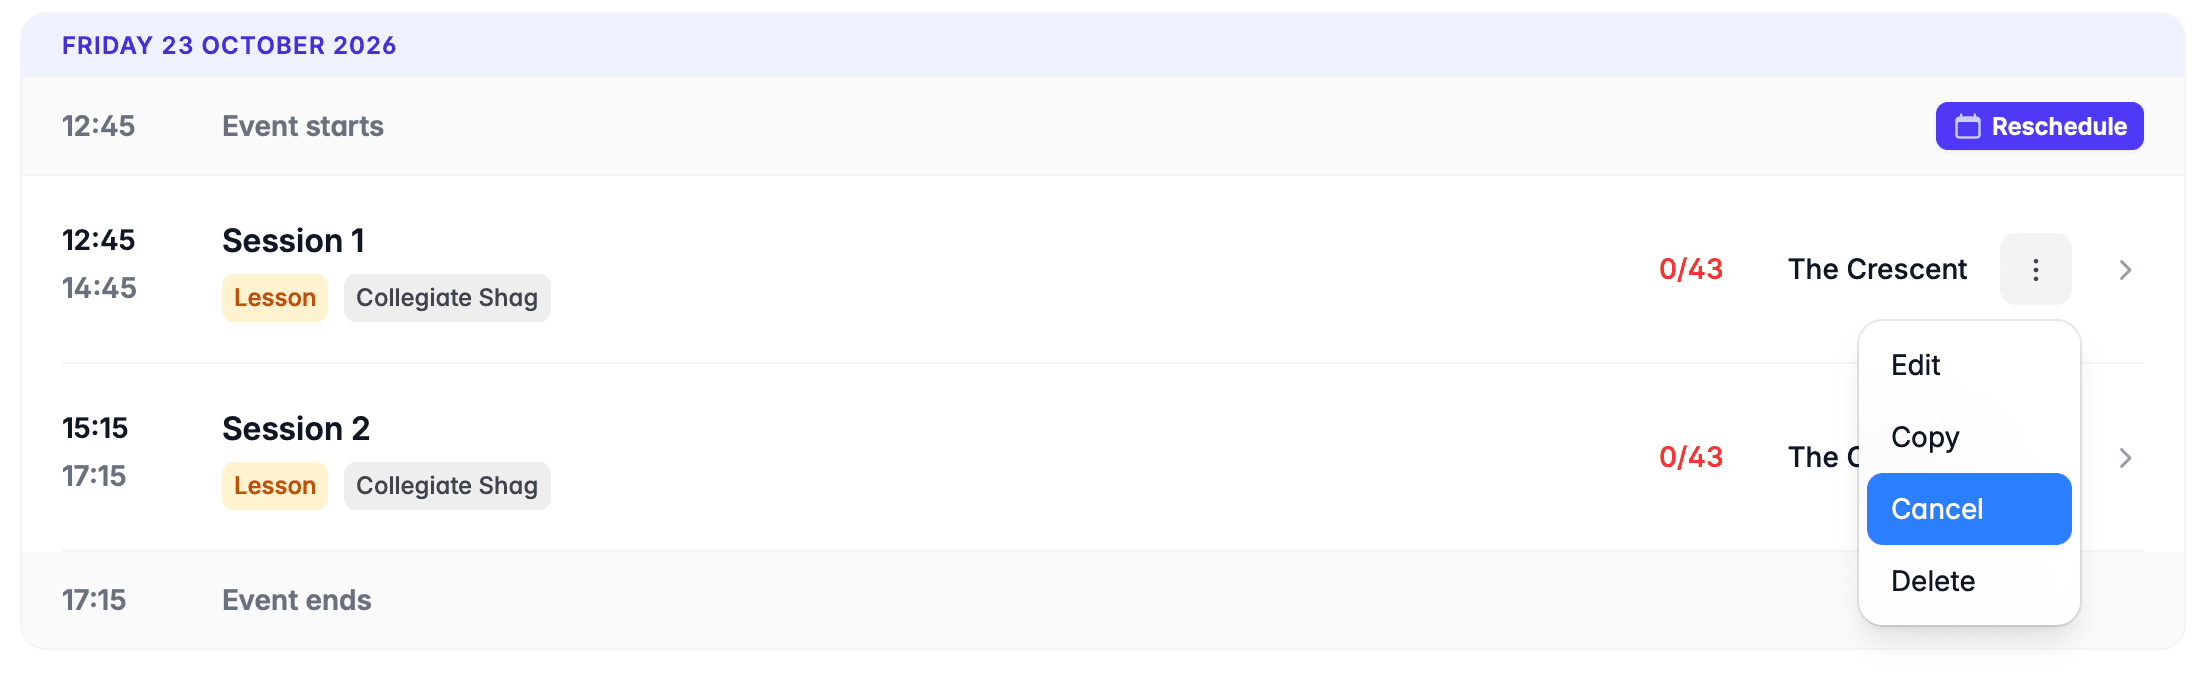
If the event is still running, but an activity in your schedule has to be cancelled, you can cancel an individual activity.
You do not need to cancel every activity in the schedule if you have cancelled the whole event.
Use the actions button on the right hand side of the activity row in your schedule. Choose Cancel and then confirm the cancellation.
After cancelling an activity, the row actions have an Uncancel action in case you need to revert the change.